White Balance and Exposure
Building on last week's assignment, this week I took several photos with proper white balance and exposure. To accomplish this I installed the Canon Hack Development Kit (CHDK) on my ancient Canon PowerShot SD1300 IS camera. What a difference it makes! Years of crappy photos could have been avoided if I had known about CHDK.
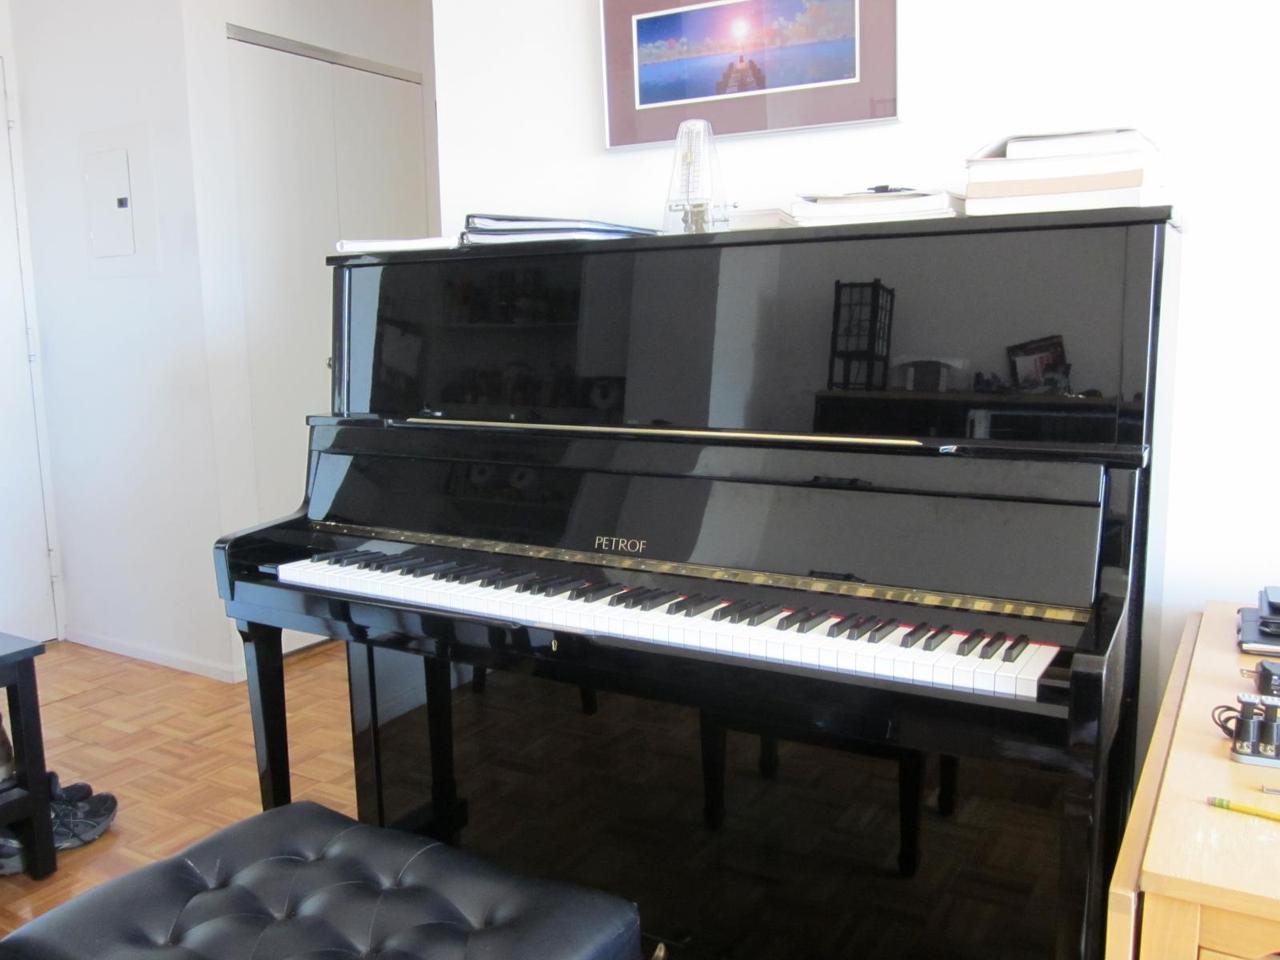
The first photo is the auto photo. The scene is a bit challenging for the camera because of the black piano and the white wall. When the camera is in auto mode it looks at the average of all the pixels to determine the white balance and exposure. The amount of black causes it to make bad choices so the white in the upper right corner is completely blown out. The whites that aren't blown out have a slight blue tint.
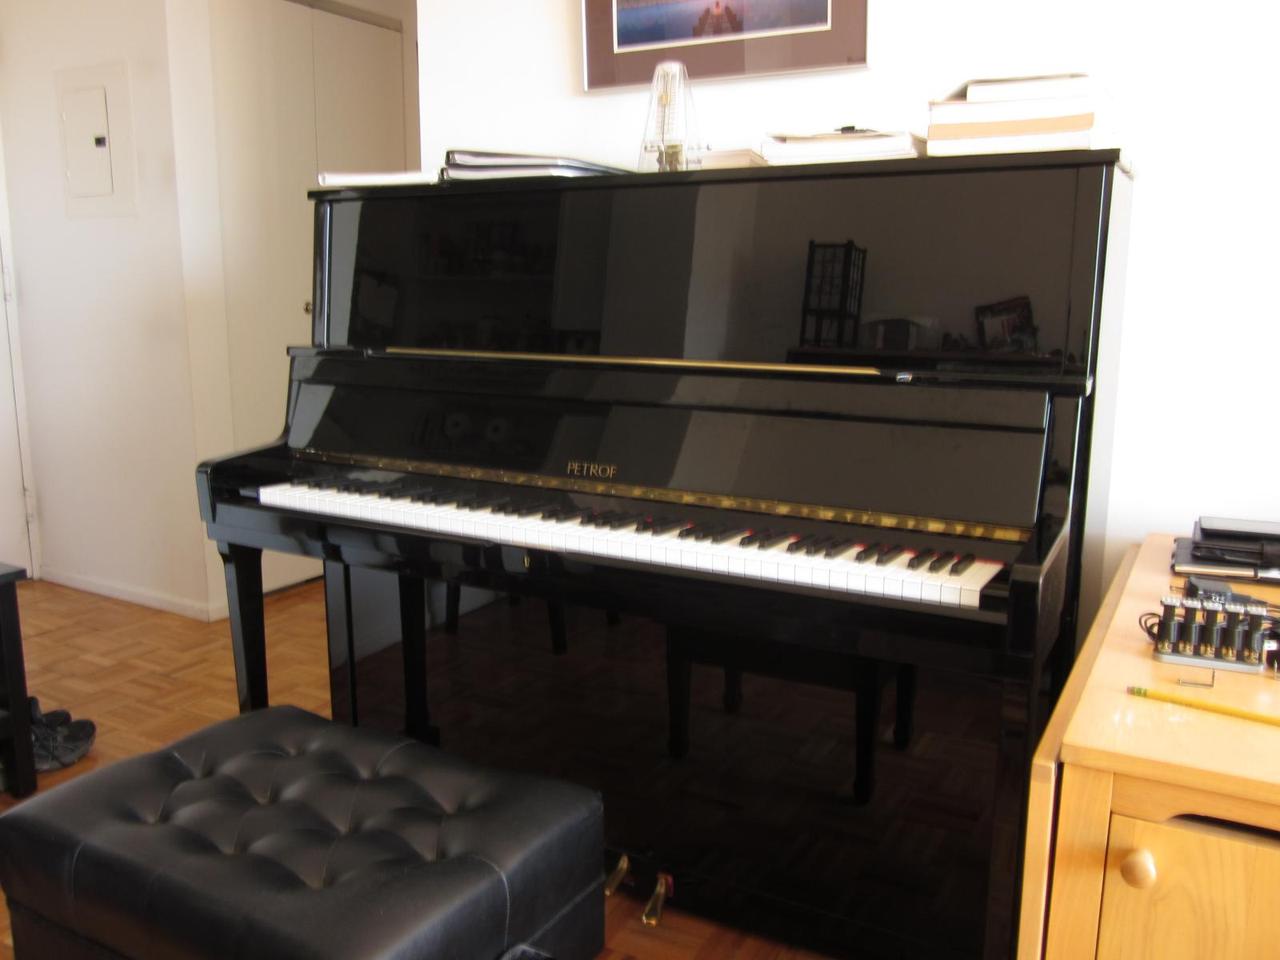
For the next photo I used the gray card to properly set the white balance. The improved white balance is hard to appreciate because of the severity of the exposure problems. The white in the upper right corner is still blown out. Also, I could have done a better job of holding the camera steady. This photo is hard to look at.
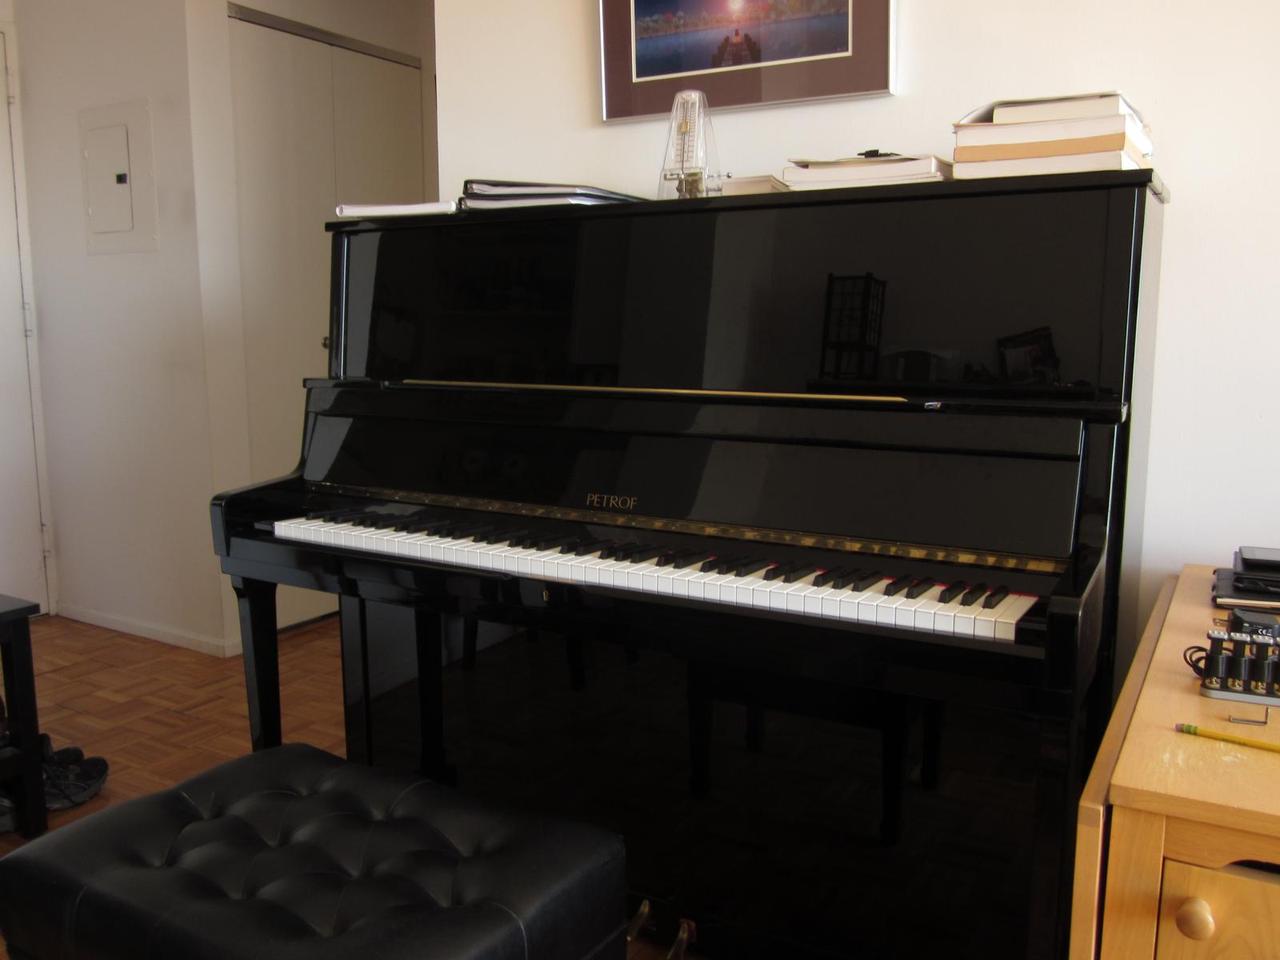
Finally, the properly exposed picture. Using the live histogram provided by CHDK I was able to easily set the exposure so that the whites in the upper right were not lost. Unfortunately the exposure settings caused some loss of detail in the reflection in the piano. That area of the photo is actually underexposed. Setting the exposure here is challenging because I had to choose between overexposing whites in the upper right and underexposing the blacks on the piano. I decided to err on the side of underexposing, as per the advice of Erik Rosenthal. To improve this photo further I would need to control the lighting in the room to keep the entire scene within the limits of the camera.
Comments