Making a custom keyboard at ITP Camp (Part 1)
I spent the month of June at ITP Camp. It's my third summer in a row there, and as always, I had a blast. This year I attended a session on building a custom computer keyboard. It was taught by Claire Kearney-Volpe and Ben Light.
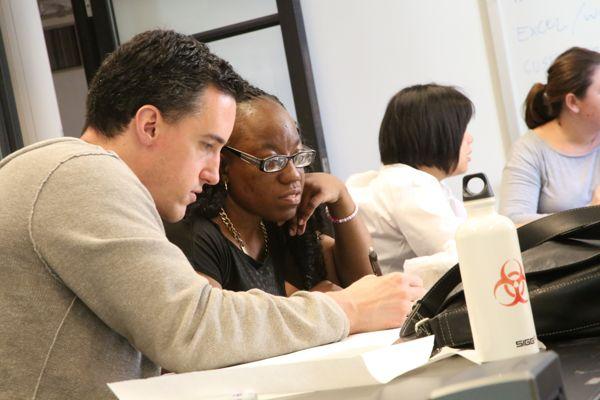
In the class we met with several members of United Cerebral Palsy and discussed their experiences using computer keyboards. Traditional keyboards often do not meet the needs of disabled people. We talked about ways we could re-design a keyboard to make computers more accessible and meet their usability needs.
I worked with a woman named Shaniqua. She didn't like the traditional key arrangement of a QWERTY keyboard and often found it difficult to find the next key she needed to type. There were some keys she didn't use at all and she thought the keys were too close together.
Claire and Ben built a working prototype of a keyboard using laser cut acrylic and a Leonardo Arduino. The keyboard I am building for Shaniqua will have a similar construction but will be tailored to her needs.
Before camp ended I designed the keyboard layout in Inkscape. The keyboard will look like this:

Next I used ITP's 60 Watt laser cutter to cut and etch all of the parts with Adobe Illustrator files derived from the above SVG image. There are 73 keys on this keyboard so the cutting took almost 4 hours to complete.
I made two mistakes with the design. First, the arrow keys were Inkscape lines with arrow heads. Visually that makes sense, but a laser cutter interprets lines as places to cut clean through the acrylic. I wanted it to etch arrows instead. To remedy this I quickly designed different buttons and cut them out on extra material.
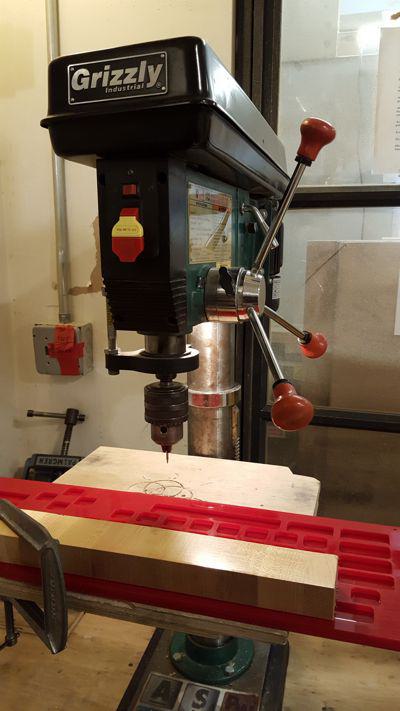
I also made a mistake with the bottom layer and omitted one of the screw holes in the bottom layer. To fix it I simply drilled the proper hole using the layer above as a guide. Cutting acrylic with a diamond tipped drill bit was overkill but it got the job done.
The next step was the acrylic welding. This welding isn't like metal welding with a torch, it is more like chemical welding that temporarily melts the plastic so two pieces can be fused together. The top of the keyboard with be two layers of acrylic with keyholes for each key, with the top layer of holes being smaller than the lower one. The keys will also be two layers of acrylic, but with the top key layer being slightly smaller than the lower layer. This will allow the keys to be pushed down into a button sensor but not up out of the keyboard.
A few of the keys seem like they will have a lot of friction with the keyboard frame, but if that's the case, I will fix it with some light sandpaper.
Camp is now over, but the keyboard building continues. This is a fun and challenging project that in the end will expand my horizons and my view of what I am capable of. The next step is to understand the electronic components and the Leonardo Arduino. I want to understand how the circuits work before I attempt to solder anything together.
Comments