Now the keyboard is pretty much done. For real this time.
Refer to (part 1), (part 2), and (part 3) for the back-story.
I previously wrote that I was "almost done" but in reality I wasn't anywhere near complete. There were many bad solder joints, resulting in shorts and disconnections for many buttons and several shift registers. It was frustrating because I had no idea how to debug it.
Eventually I wrote some Arduino diagnostic code to help me identify the problems. I also read several books on Multimeters. And lots of time studying my soldering joints with a magnifying glass. It was tedious, but now the keyboard works pretty flawlessly. Although it is possible another problem will creep up later, I am confident I will be able to deal with it.
The circuitry is complete. A few minor tweaks to go: some buttons needed to be filed down to fit properly, and perhaps a few more need some work. The keyboard also doesn't have question mark or comma keys. I plan on using a laser cutter to make replacement buttons for the duplicate times and caret characters since they aren't as important. I will take care of it at ITP Camp this summer.
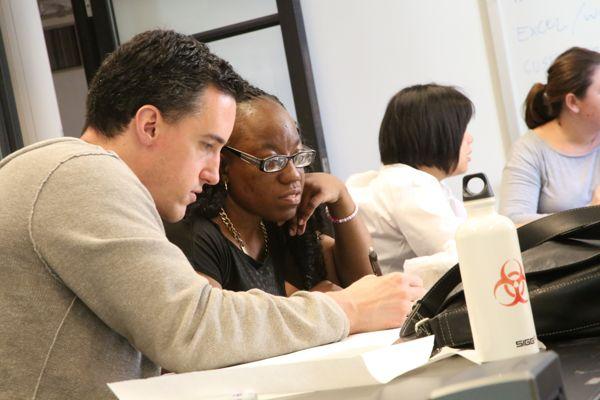
And this is me typing with it! It really works!!
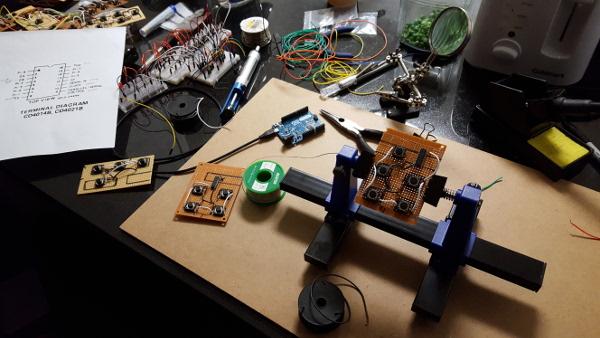
Some photos:

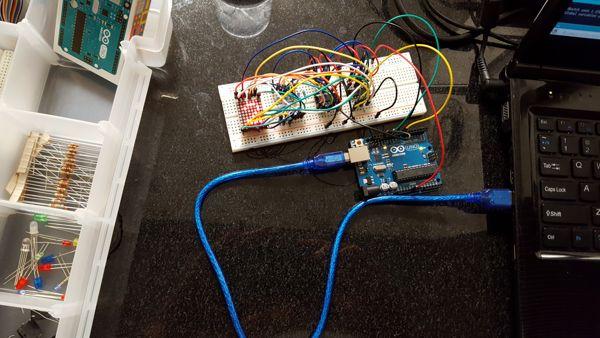
I wrote my own Arduino code to run the Arduino board. My code properly handles multiple key presses and lets the operating system handle key repeats. There is also diagnostic code to blink the Arduino's built-in LED if there is a hardware problem with the shift registers.
I am very happy to have finished the circuitry for this custom keyboard. For a long time this project seemed hopeless. Nevertheless, I stuck with it and now it is clear I will actually finish it properly. The soldering iron that was setup on my kitchen table since August has finally been put away. I'll take it out again later, of course, but for a different project!
Next up, Raspberry Pi experiments.