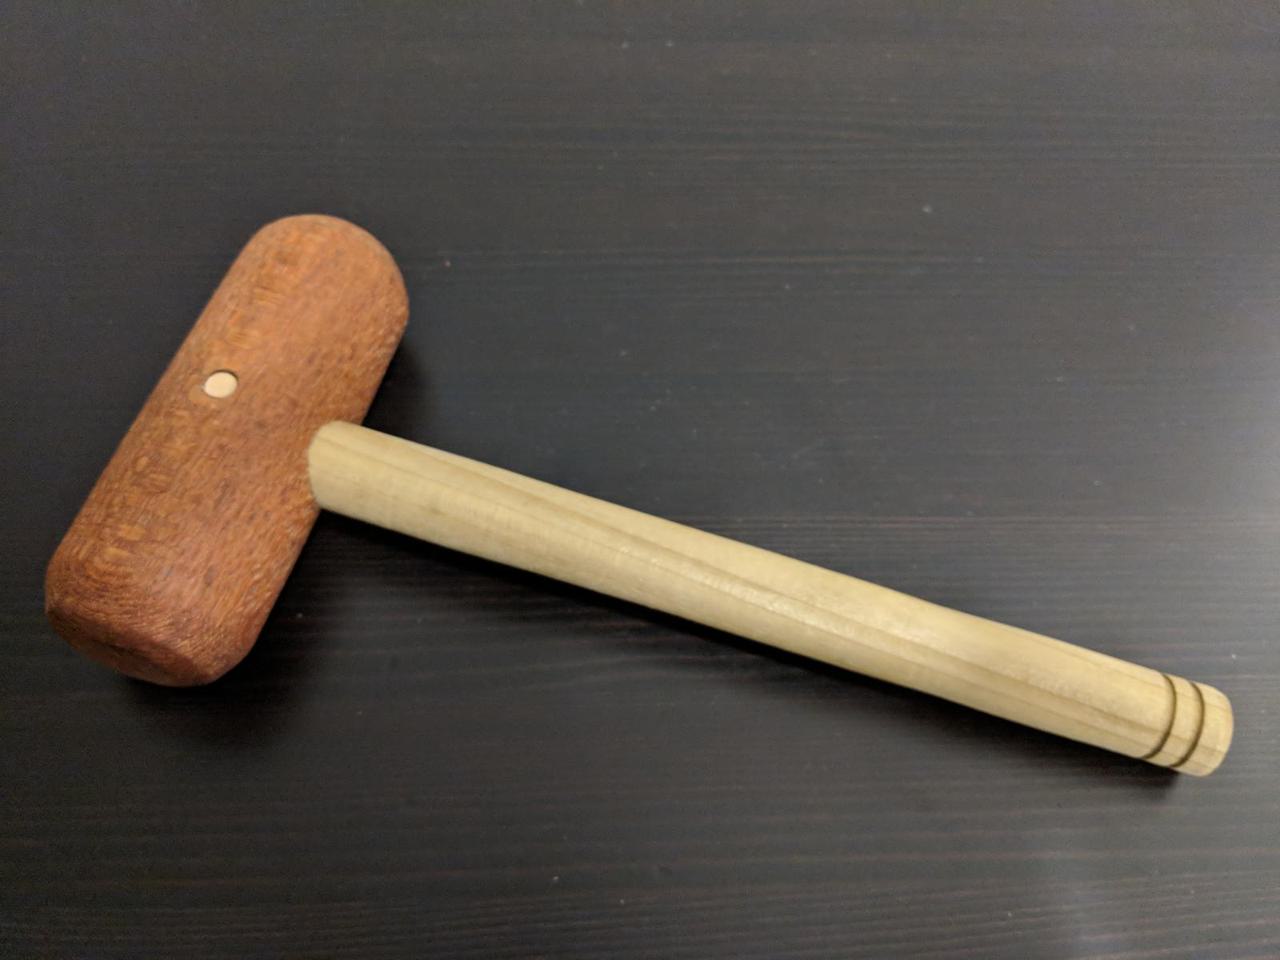
Wooden Mallet
My next project is to build a wooden mallet with the lathe. It was quite a challenge! I look at this mallet and am amazed I was able to make this. The wood lathe is an intimidating machine.
I started with a hardwood dowel rod and a piece of the exotic wood Lacewood. I found a place online that sells boxes of exotic wood end-cuts. I didn't get to pick what kind of wood I received but they didn't disappoint. In addition to the Lacewood, I received Purpleheart wood and Padauk wood. Plus a bunch of other things. I'm going to use this for future class projects and for projects over the summer.
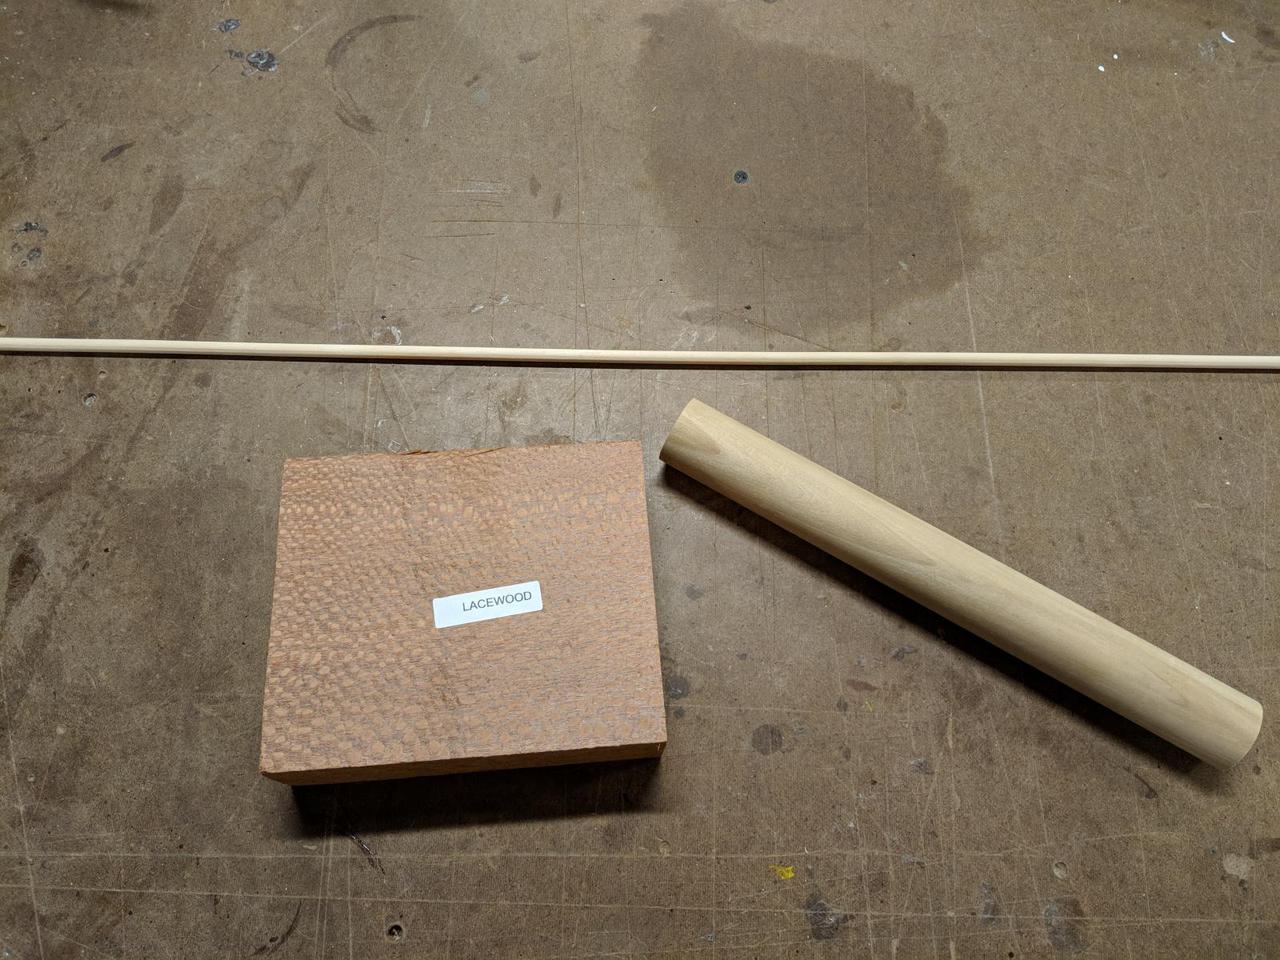
What's unique about Lacewood is the grain pattern. The grain looks like woven fabric, kind of like what you see on your shoelaces. You may see this wood used in a tabletop as it provides a beautiful surface. The nice grain pattern is only in one direction though. It works for a table because a table is flat. How well will it work for a round mallet?
Below you see all six sides of the unaltered piece of wood. It looks pretty rough on some sides because of how it was previously cut.
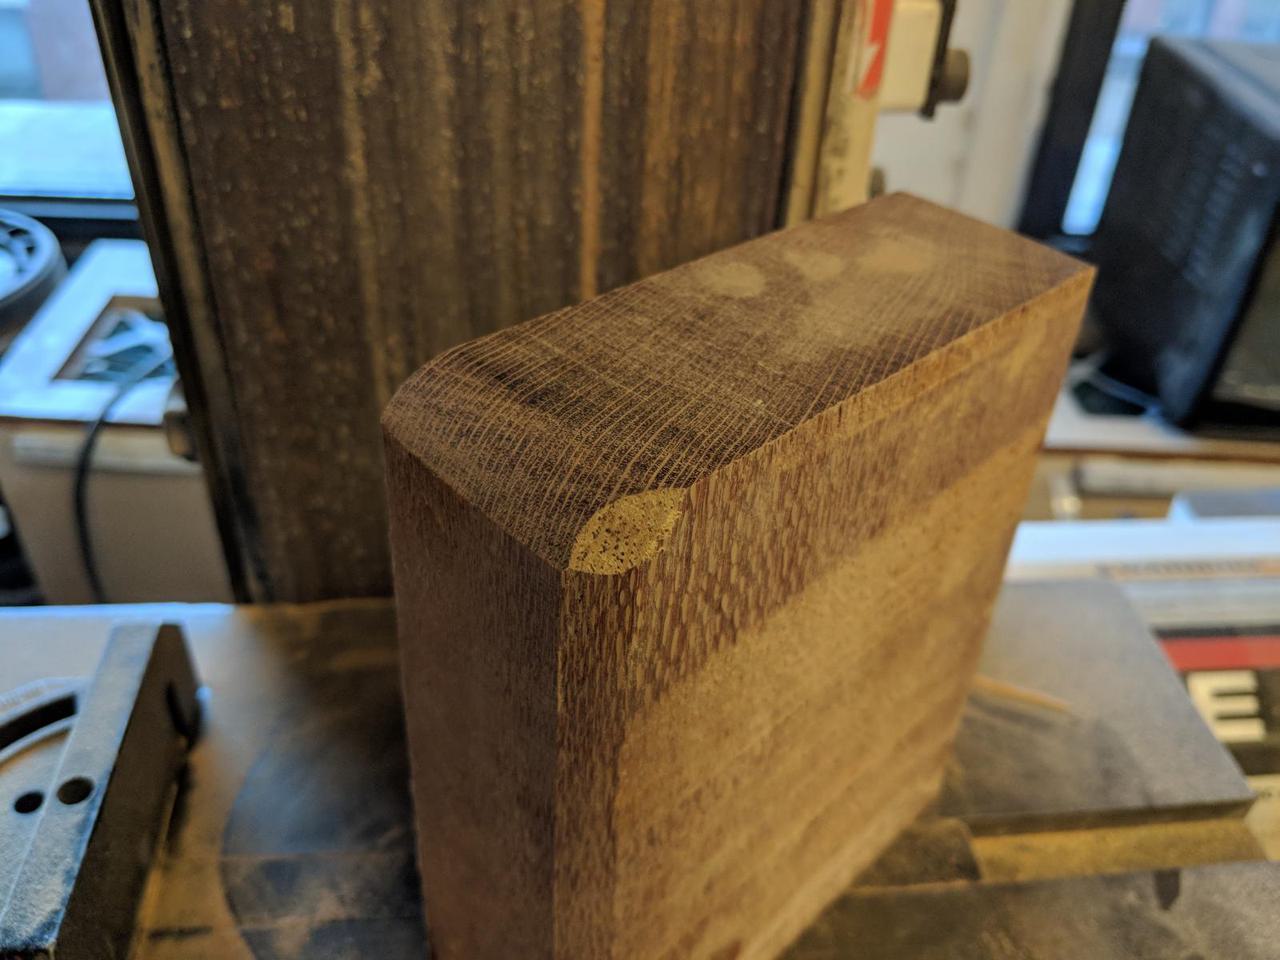
To investigate I sanded all sides of the block of wood to get a better idea of what the grain pattern looks like from different angles. I also sanded down the edges at 45 degree angles. I wanted to get an idea of what this would look like as a cylinder and decide which direction I should cut the wood.
Using Lacewood for this might be a bad choice if the result hides the wood's unique grain pattern.
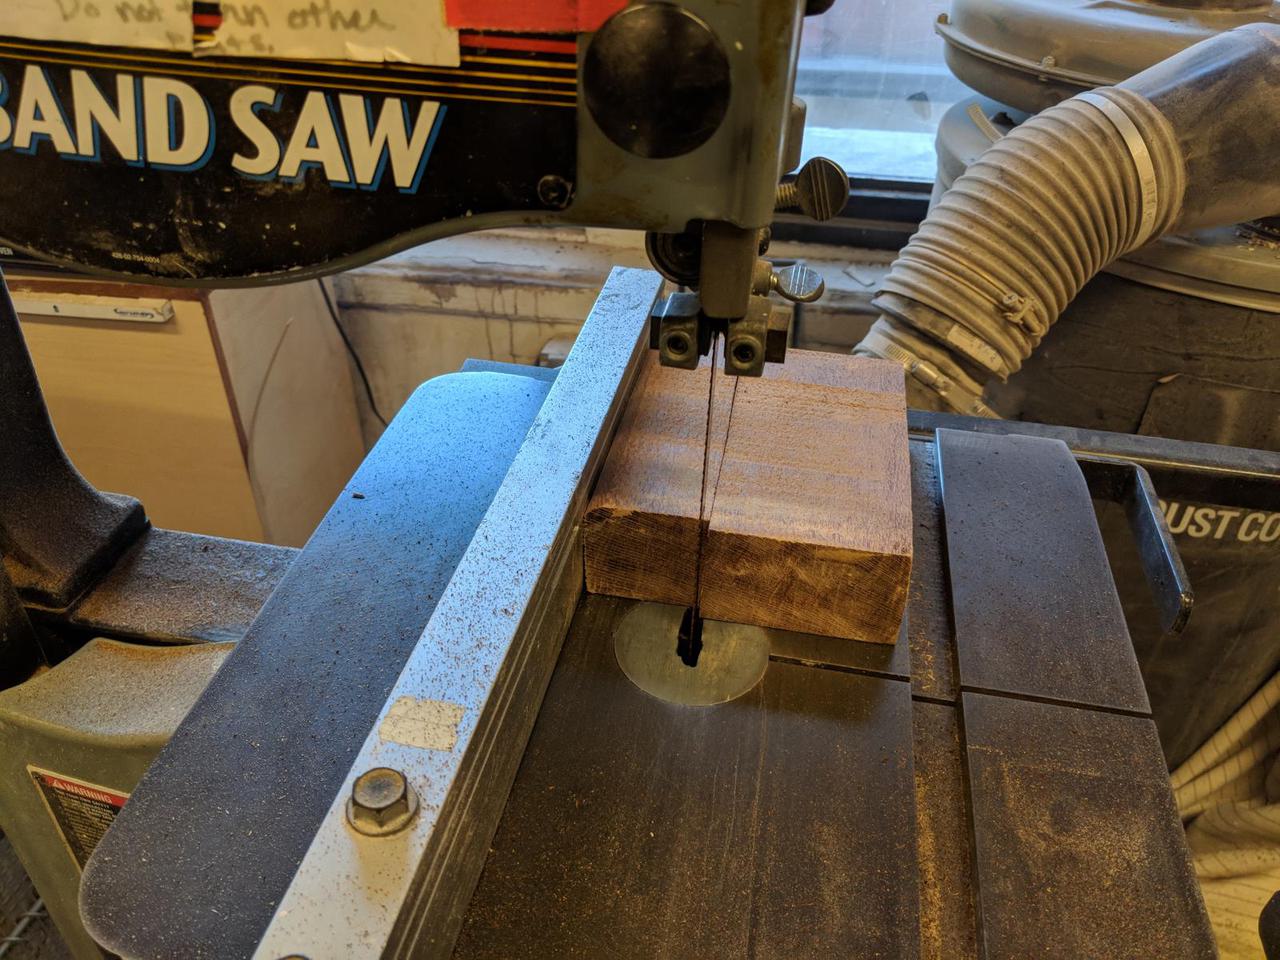
After making a decision I cut the wood on the band saw. The cut piece has a square end and is appropriate for turning. The leftover piece will be used for a future project.
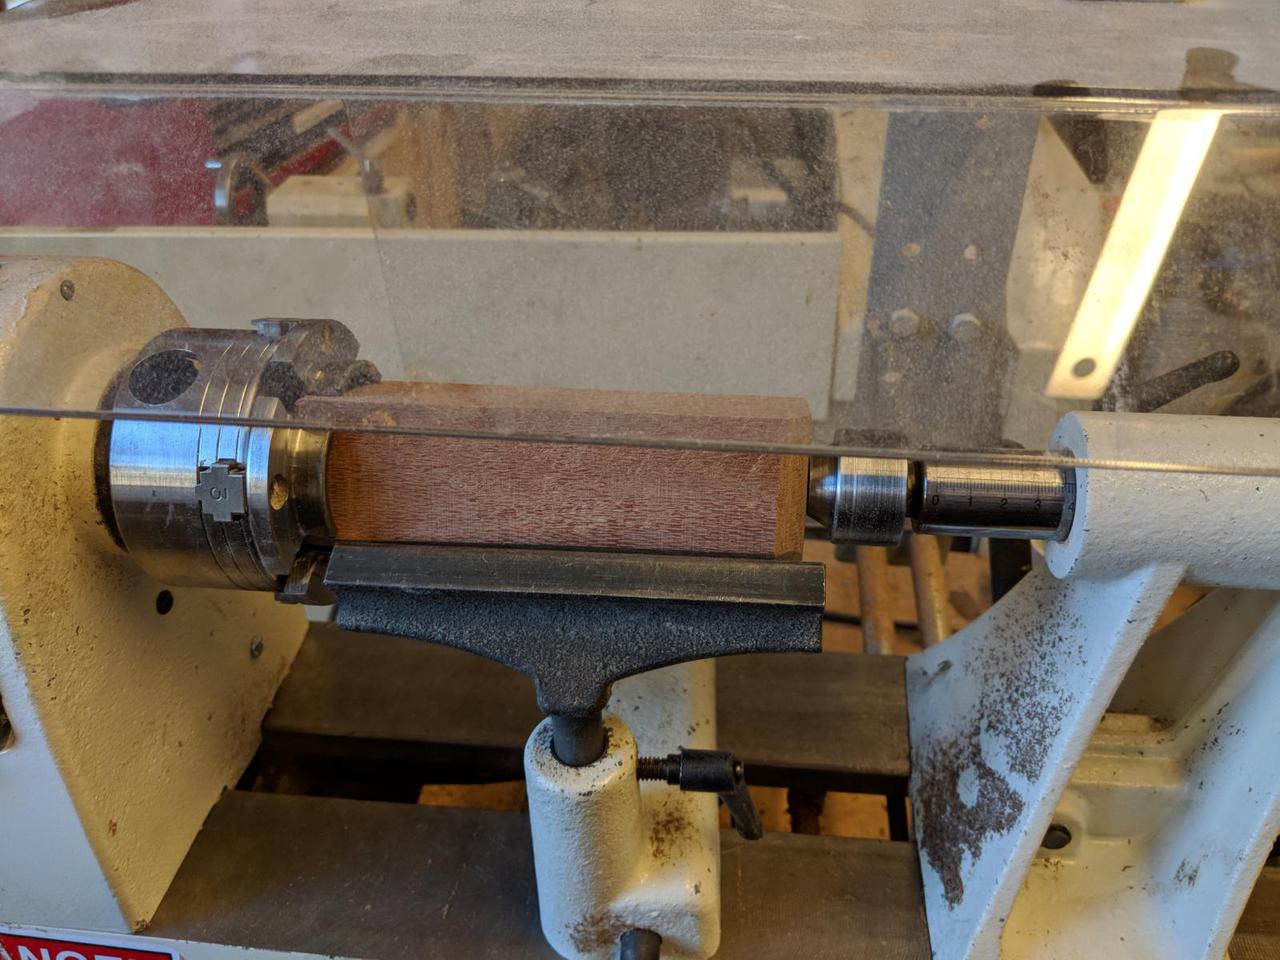
I mounted the wood onto the lathe with the four-jaw chuck and positioned the larger banjo. I am now ready to begin.
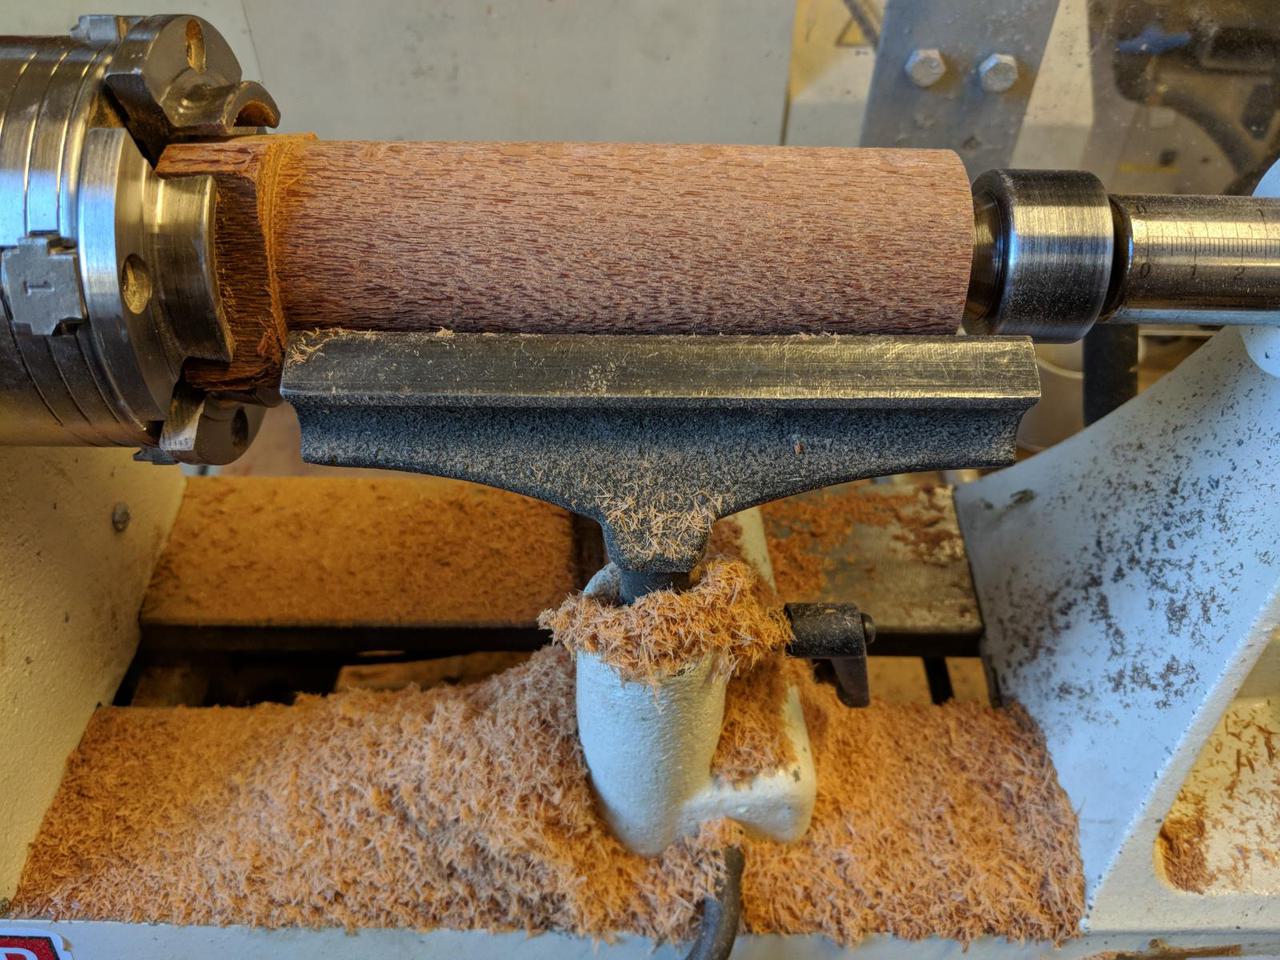
After about 10 minutes I got the wood to round. Lacewood is very easy to work with. Because of the grain pattern the wood produces debris that looks more like eyelashes than normal sawdust or wood chips.
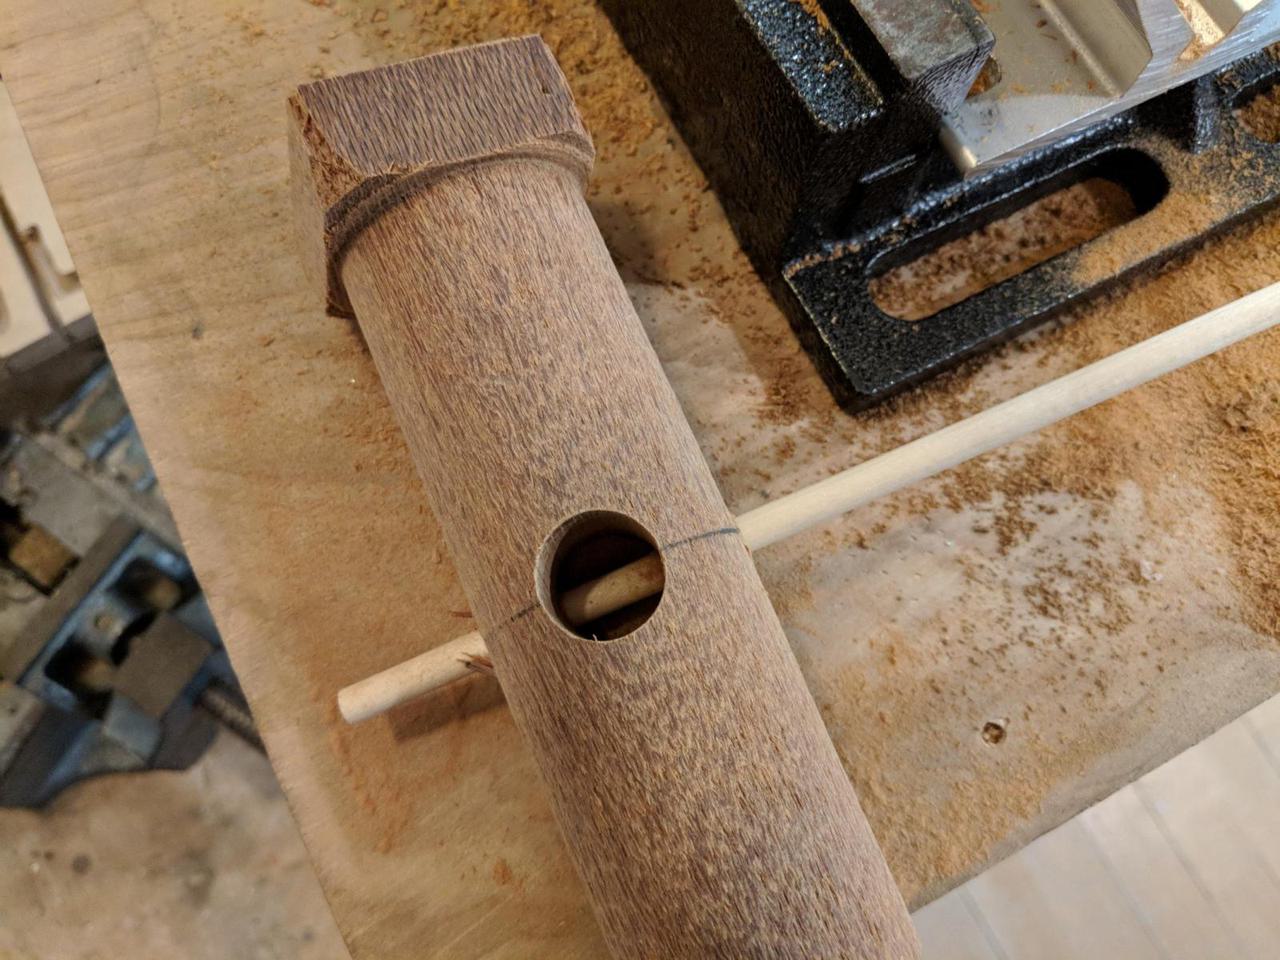
Now that the wood is round I must drill a 3/4" diameter hole for the handle and a 1/4" diameter hole for a pin to hold the handle in place.
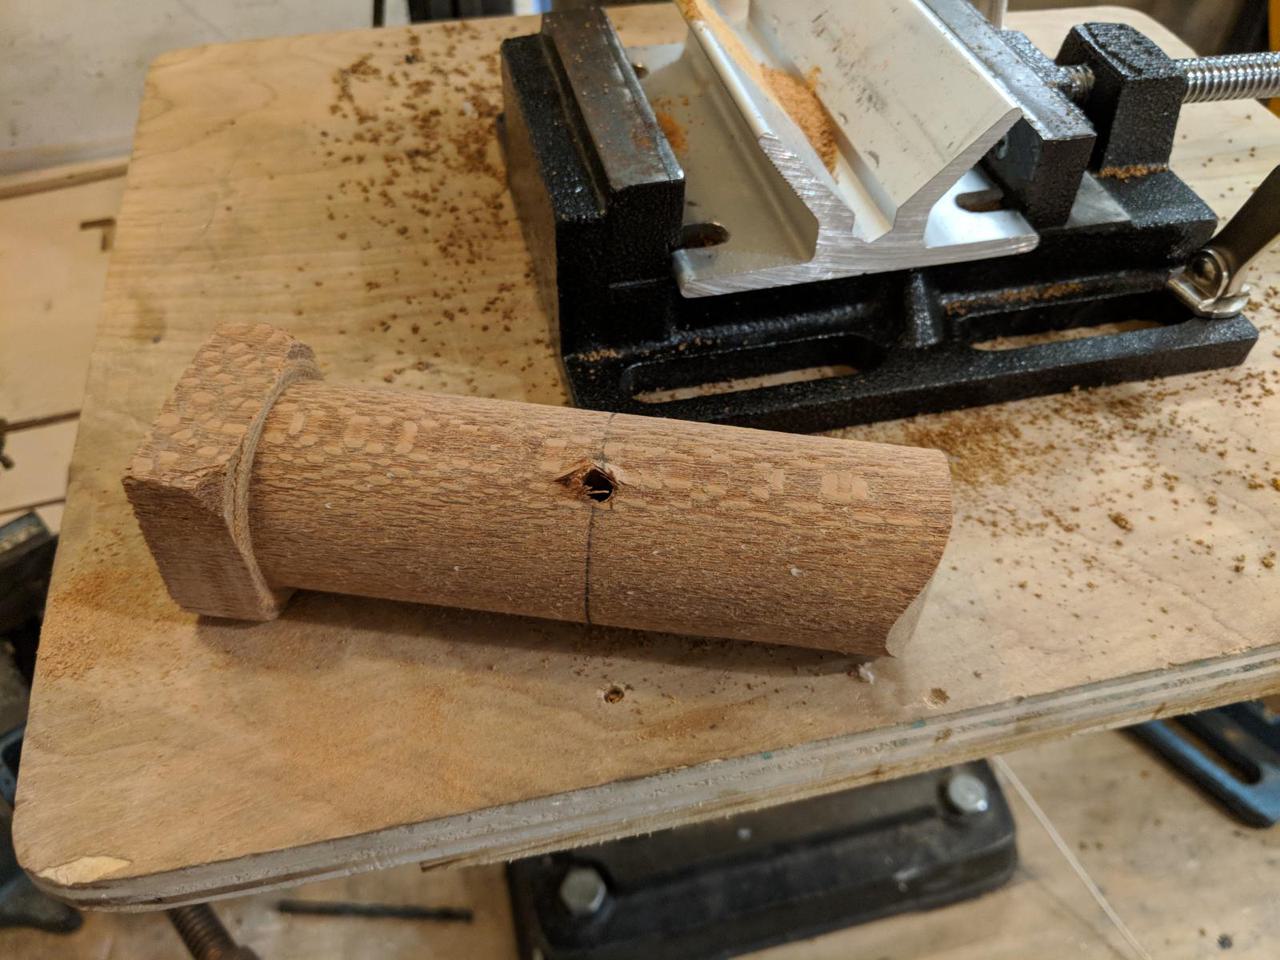
My thin dowel rod properly fits through the necessary hole.
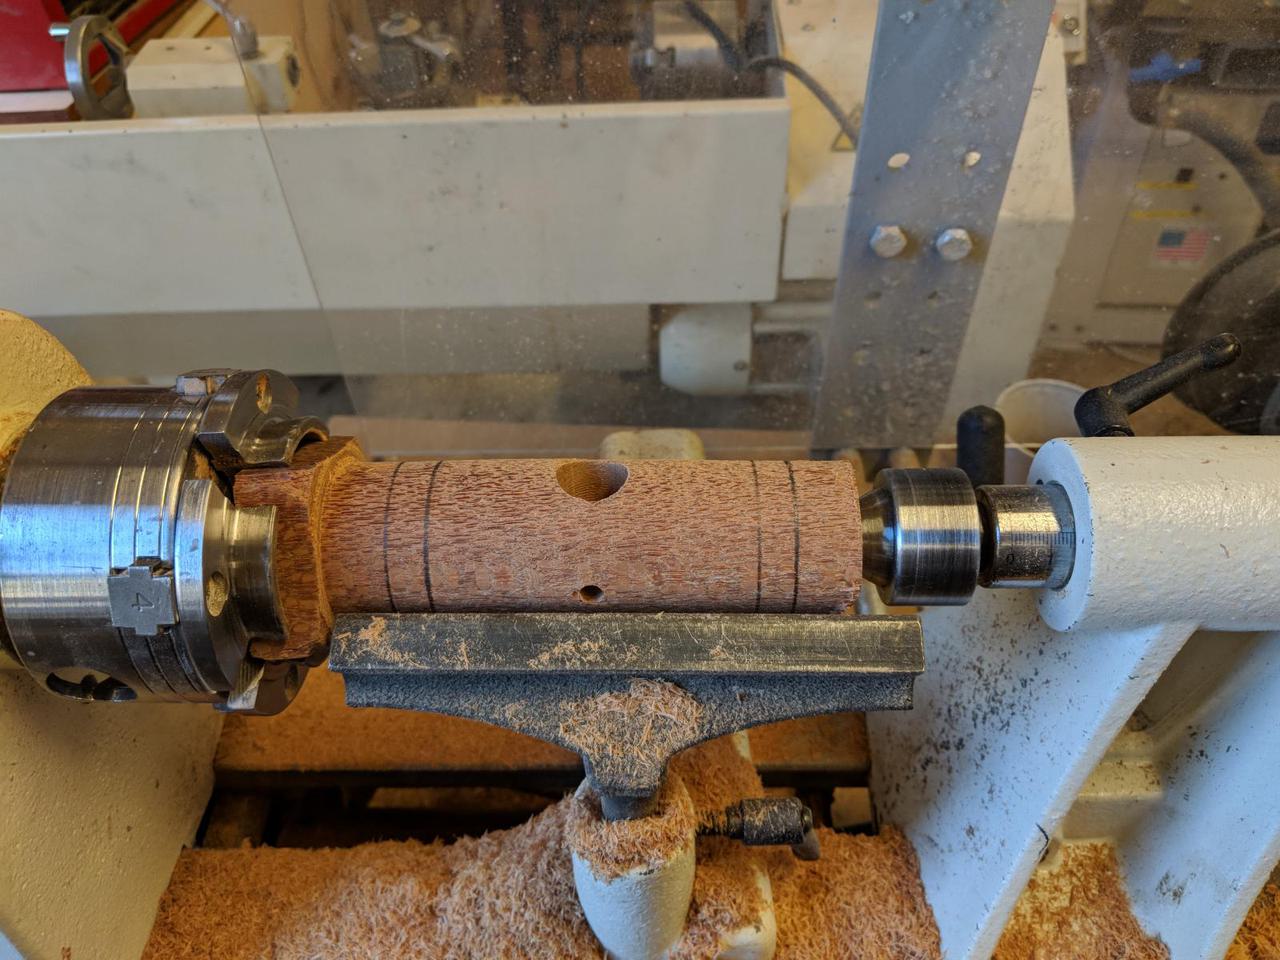
Next I put the wood back on the wood lathe. I didn't get it back on exactly the way it was before so I had to do a little bit of work to get it round again. I don't understand why that happened but it might be because I didn't do a good enough job mounting it the first time.
The pencil lines serve as a guide for further lathe work shaping the head of the mallet.
After working the right side of the mallet head I removed the tailstock so I could better carve that end. This works because the four-jaw chuck can hold onto the wood while I work.
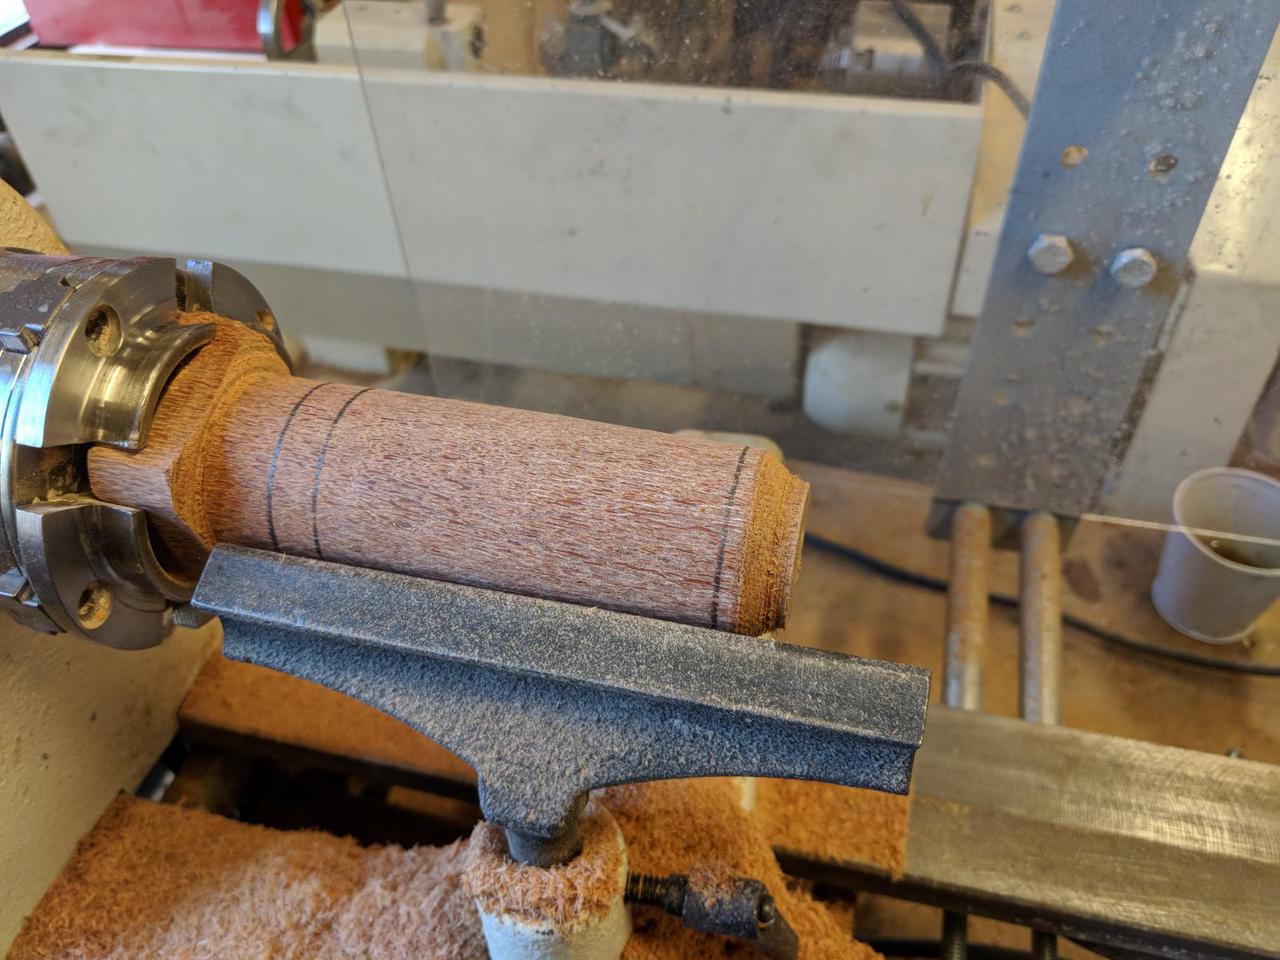
After doing some more work I completed both ends of the mallet head. There is still a little bit connecting the mallet head from the part of the wood the four-jaw chuck is latched on to. I cut that by hand with a saw to separate it.

Now the mallet head is complete! Next step, make the handle.
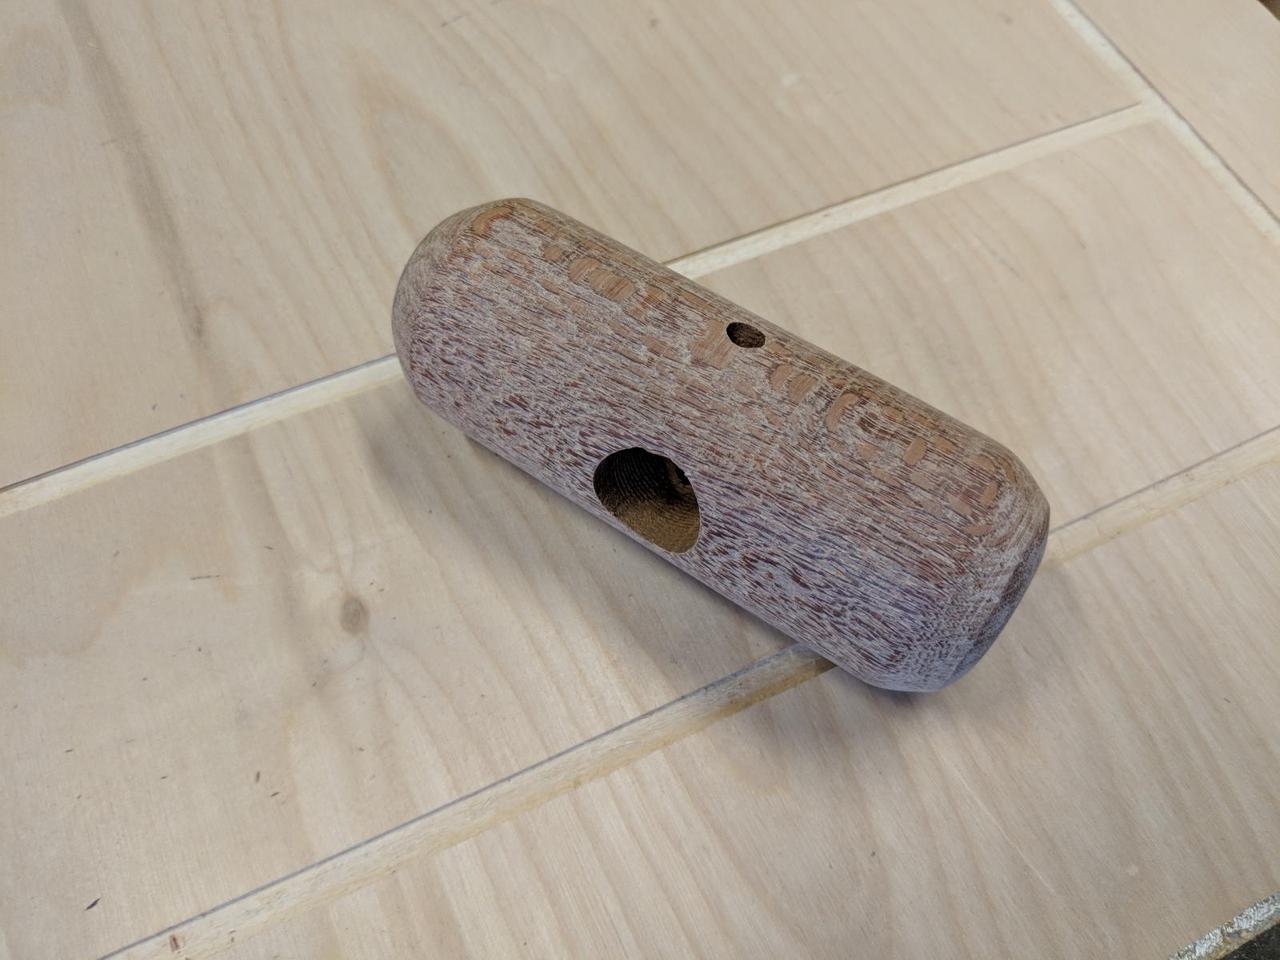
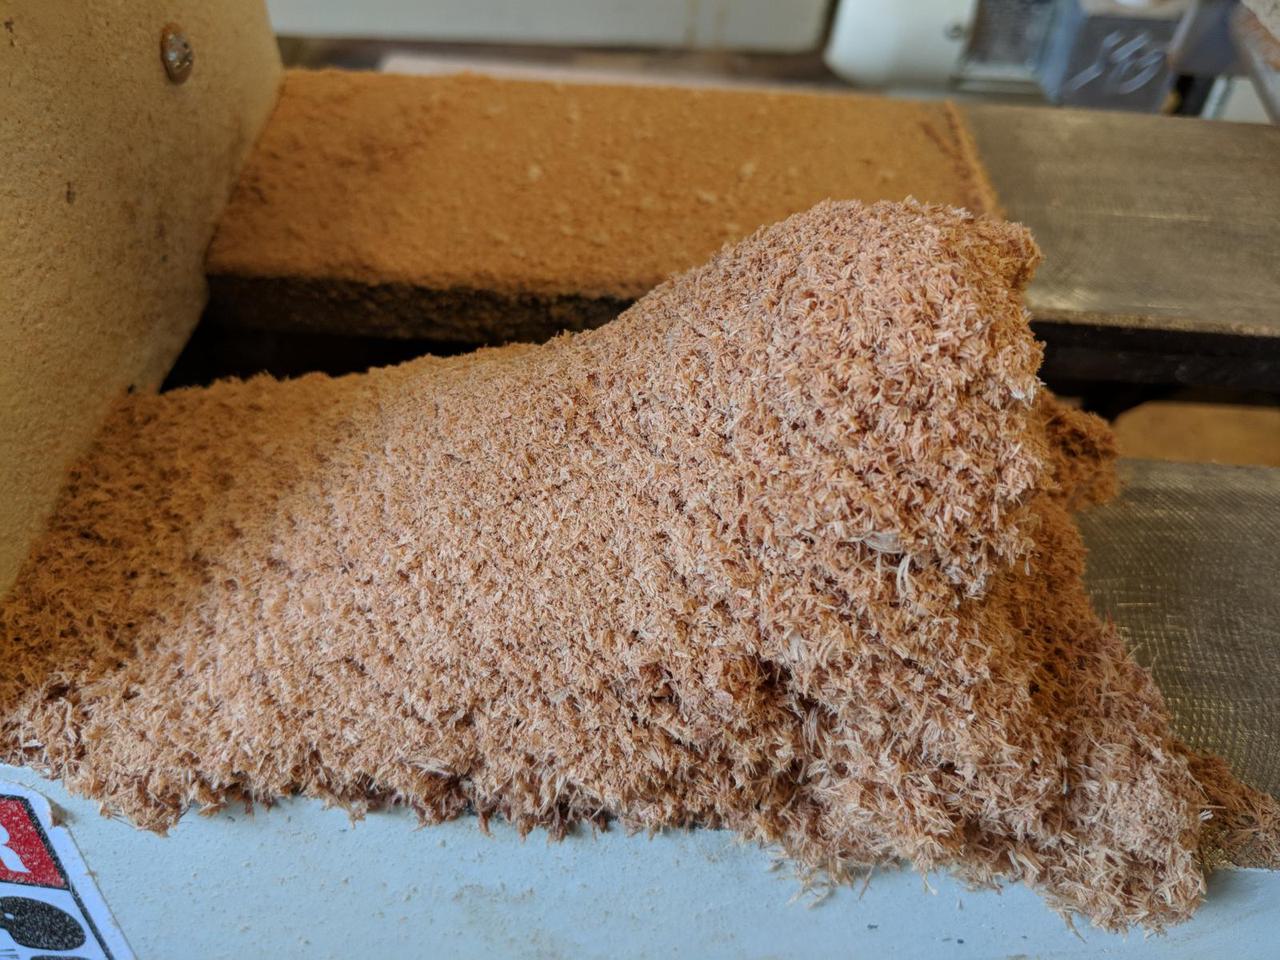
I created a lot of sawdust. Lacewood will give you painful splinters.
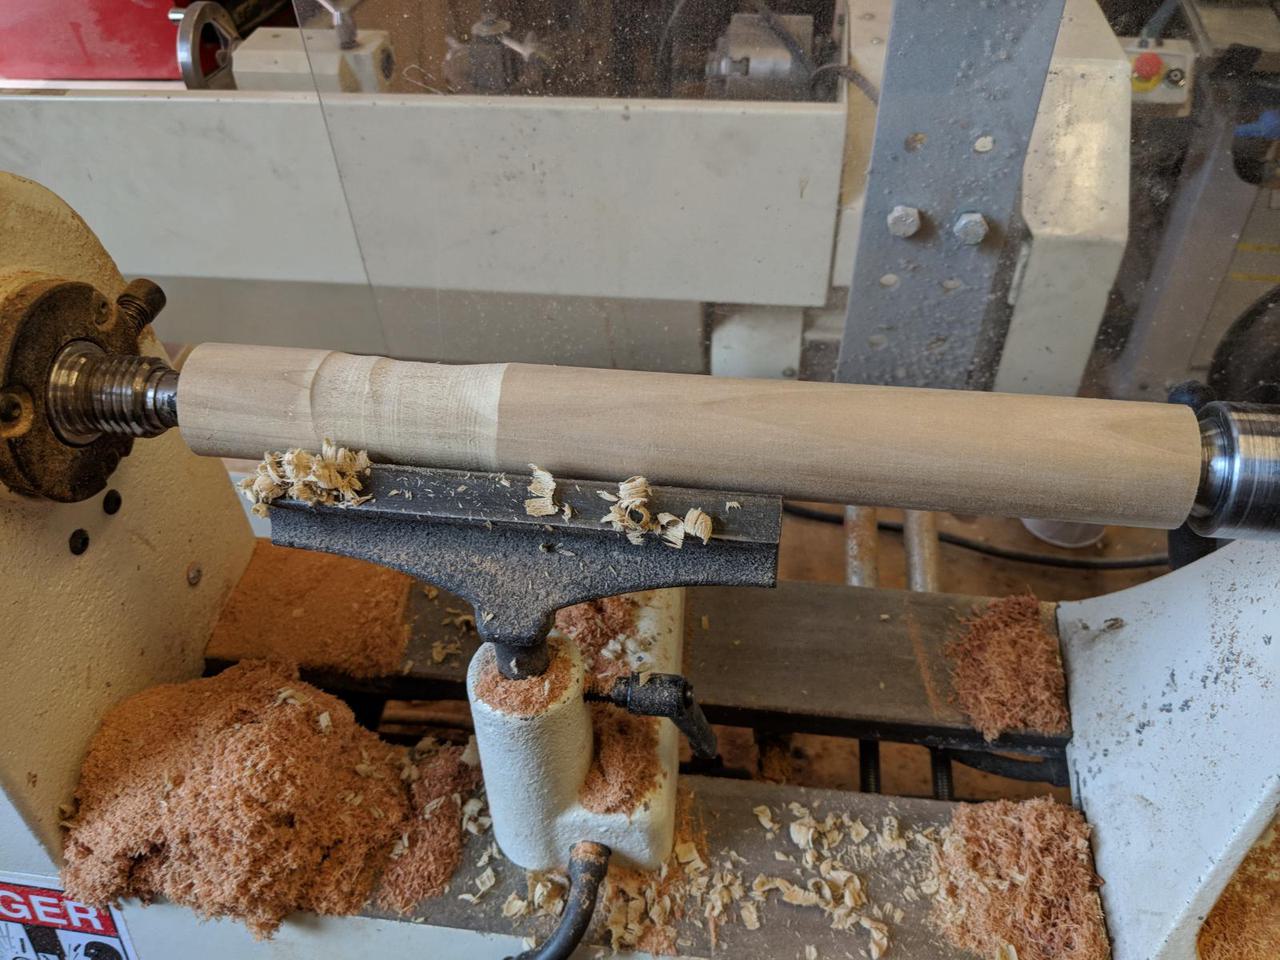
I mounted the dowel rod and started working on it. First I need to get it to round.
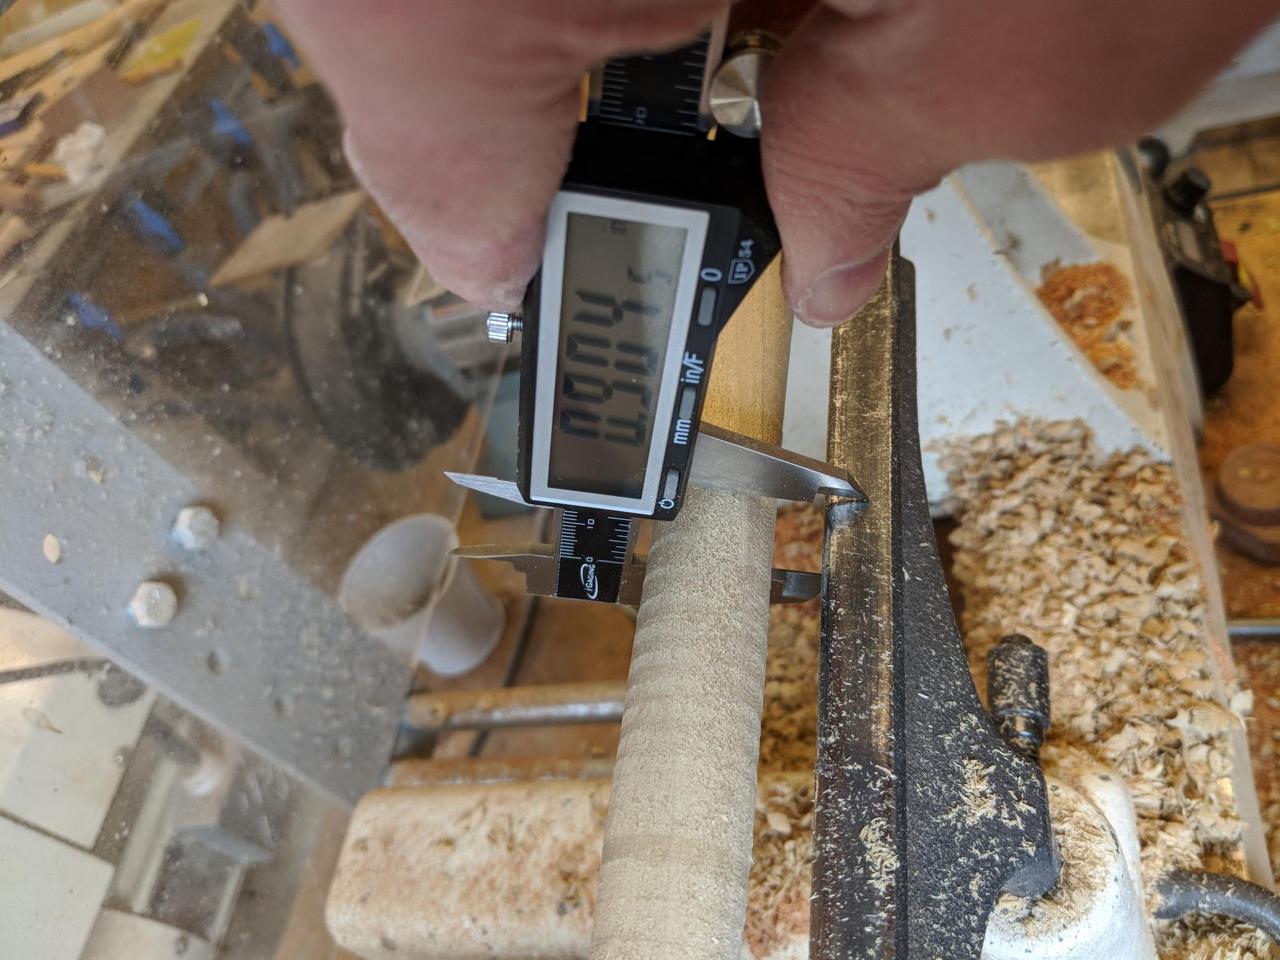
Next I measure it with digital calipers. I want the size to be exactly right so the handle fits without being too lose.
After working for a bit I get a nice straight handle.
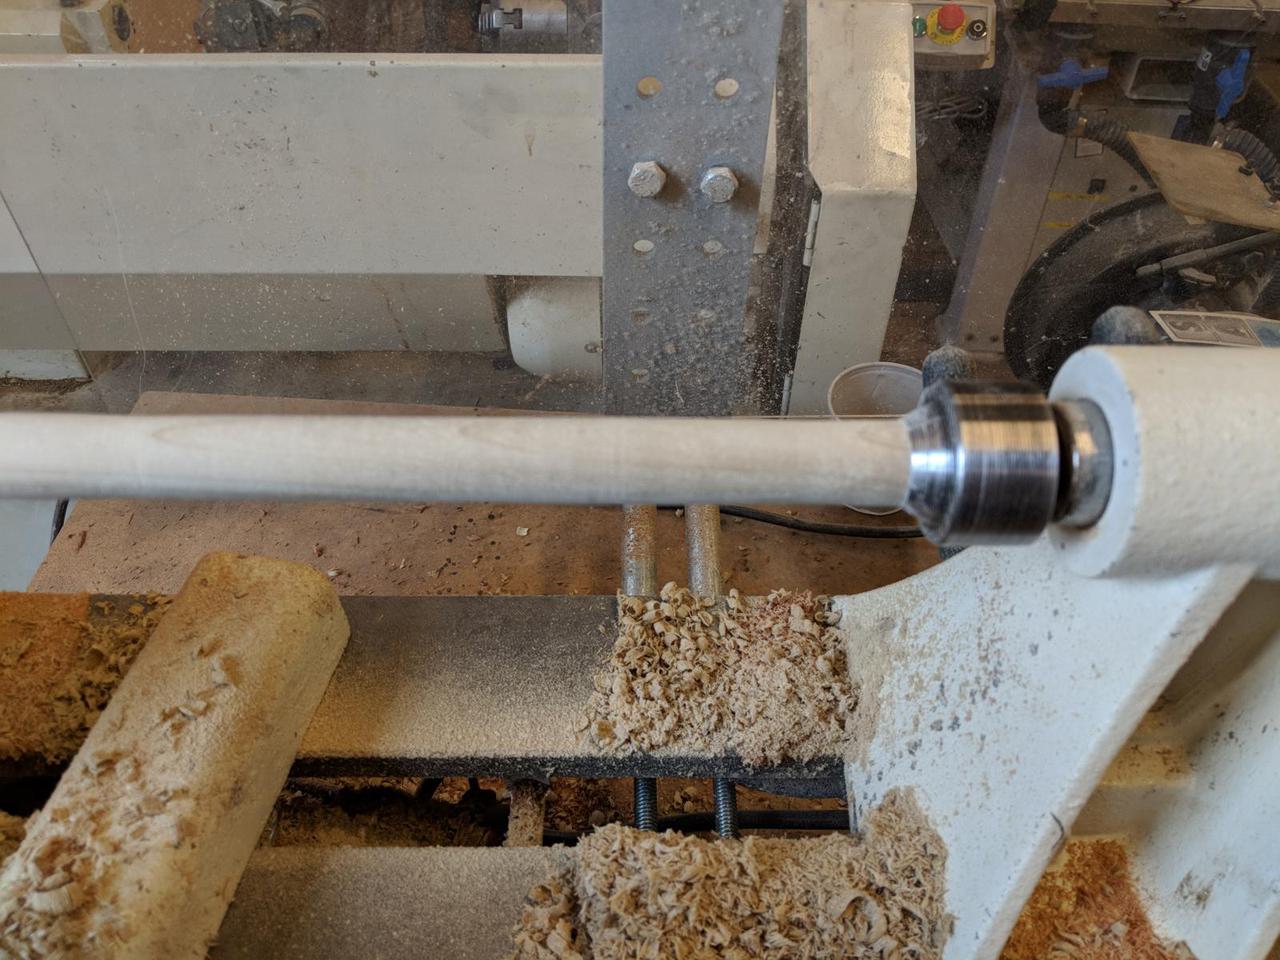
Success! The handle fits.
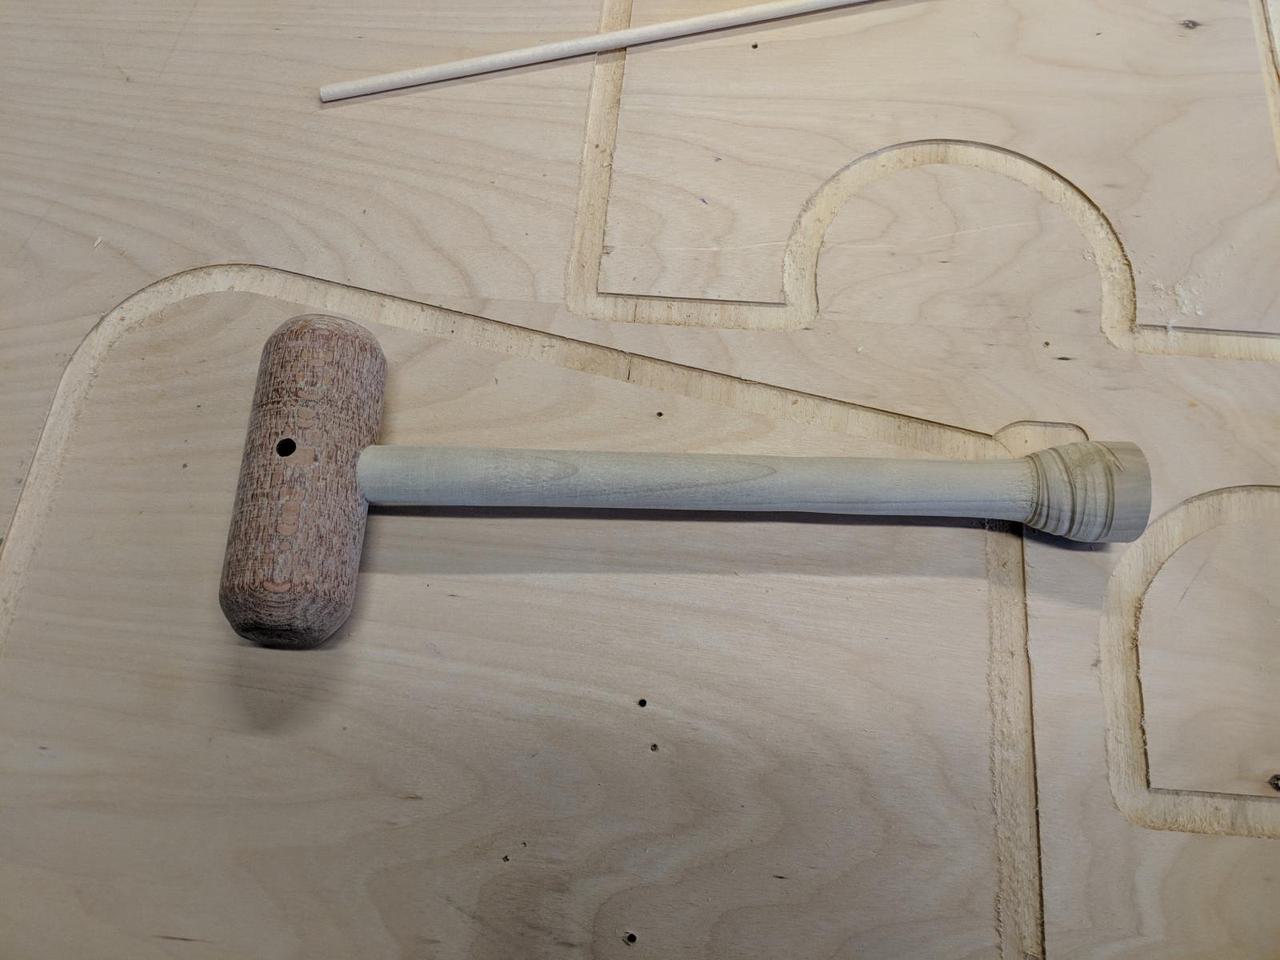
I did a little bit of styling on the end of the handle. Last step: add glue and a pin to hold everything in place.

First I glued the handle in place. The handle is in the way of the pin so I need to drill another hole through the part of the handle inside the mallet head for the pin to pass through. This proved difficult. I wanted that hole to line up exactly with the previously drilled pin hole but had trouble positioning the mallet head correctly with the handle inside. Eventually I got it, but not easily.
I had to use a hammer and a mallet to drive the mallet pin in place. How was the first mallet created?
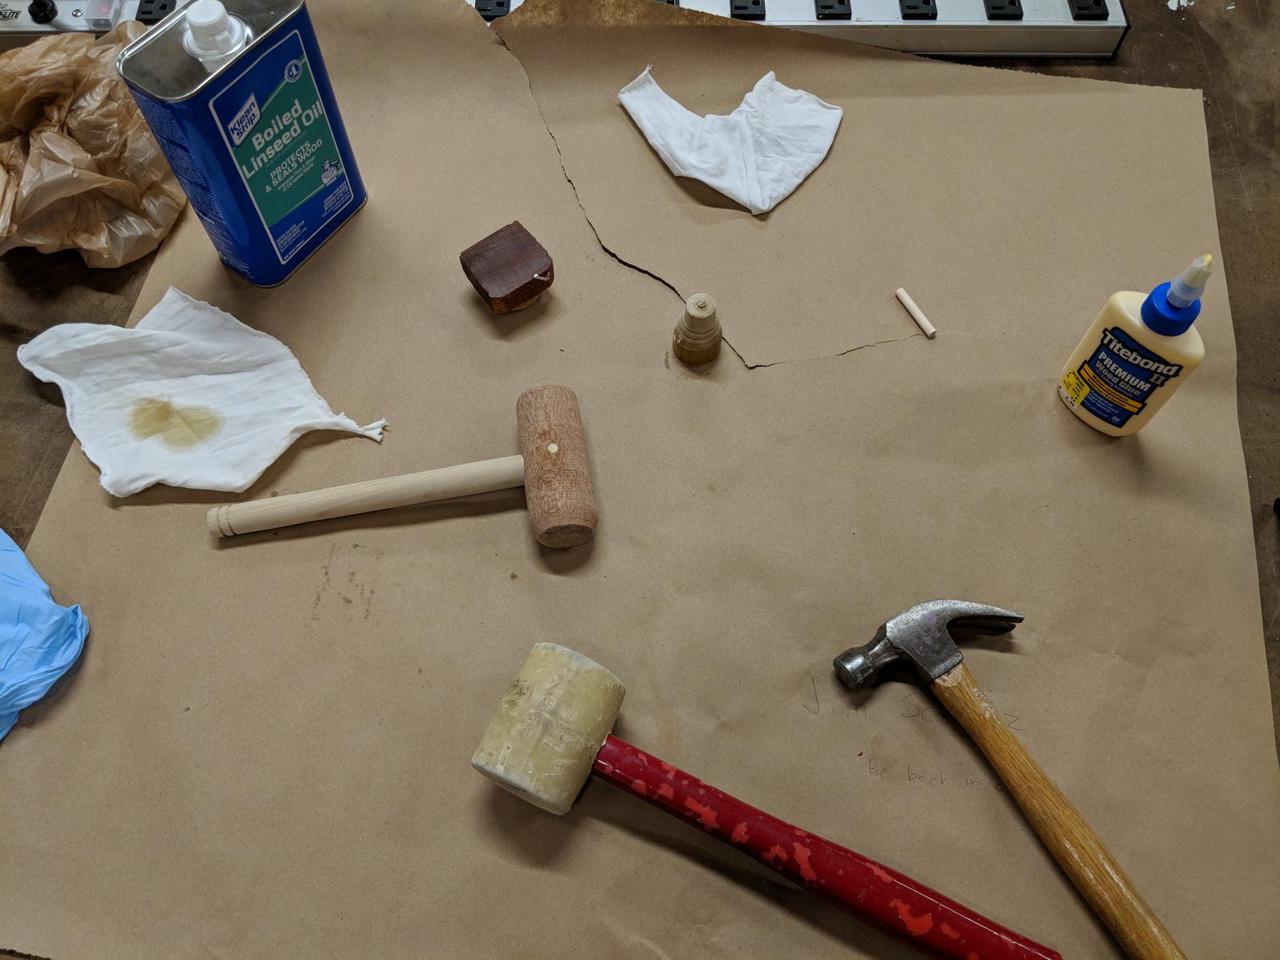
My last step is to finish the wood with linseed oil. Finishing the wood with that was way easier than I thought. Just apply with a rag, wait 10 minutes or so, and wipe the excess off. The linseed oil did a lot to accentuate the grain pattern. Without it the wood seemed dry looking. I am definitely going to use this finish again for future projects.
Comments