HDR Photography
For our last assignment I experimented with HDR photography. I used my CHDK-hacked Canon camera to take the photos and Luminance HDR to create the HDR photos and perform the tone mapping from HDR to regular LDR photos.
I did quite a bit of experimenting with my camera and the software to understand how all of this works. I also read all of the Luminance HDR documentation. The documentation clarified a lot of details about HDR photography and helped me understand all of the steps to making photos like this.
All of the below HDR photos were created with 8 photos with exposure settings ranging from -3 to +4. The HDR photos were created using the Debevec model with a Gaussian weighting function and a Gamma response curve. I used Mantiuk '08 to tonemap the HDR images to the LDR JPG image format. There were other possible choices for these settings and although I did experiment with them I don't claim to have a full understanding of what they are or what they do. I used these settings because I was happiest with the results. I will have to look for other online resources provided by professional photographers to get better guidance and intuition about how to use these tools.
The first photo in each HDR exposure series had a very long exposure. It took about a minute to take all 8 pictures. You can see one set below. Notice how the first in the series is very bright and the last one is rather dark.
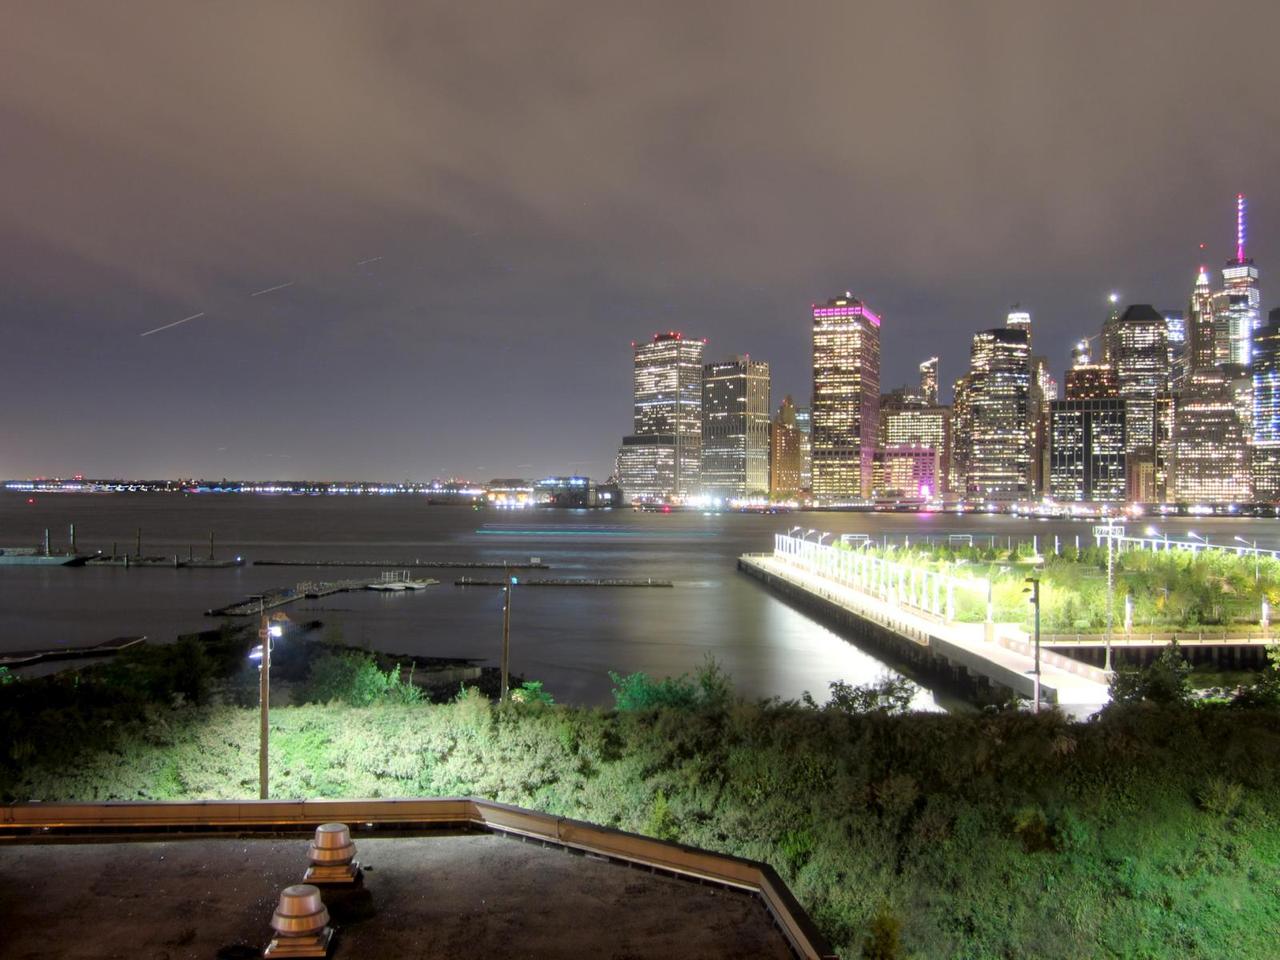
My first HDR photo is a picture of Manhattan and the East River from the Brooklyn Heights Promenade. Not everything in this scene was stationary. There was a moving boat in the river that appears as a blue streak and an airplane in the sky. Luminance HDR does have tools for managing this kind of ghosting but I deactivated them because they sometimes made the program crash. I also don't like how bright some of the lights were on the pier. The CHDK HDR script I was using takes a maximum of 8 pictures per iteration. I will have to modify the script to allow for more. I'm not happy with the light balance settings. Light balance settings still matter with HDR pictures. Despite these problems I'm happy with the picture. I really like how the Manhattan buildings look.
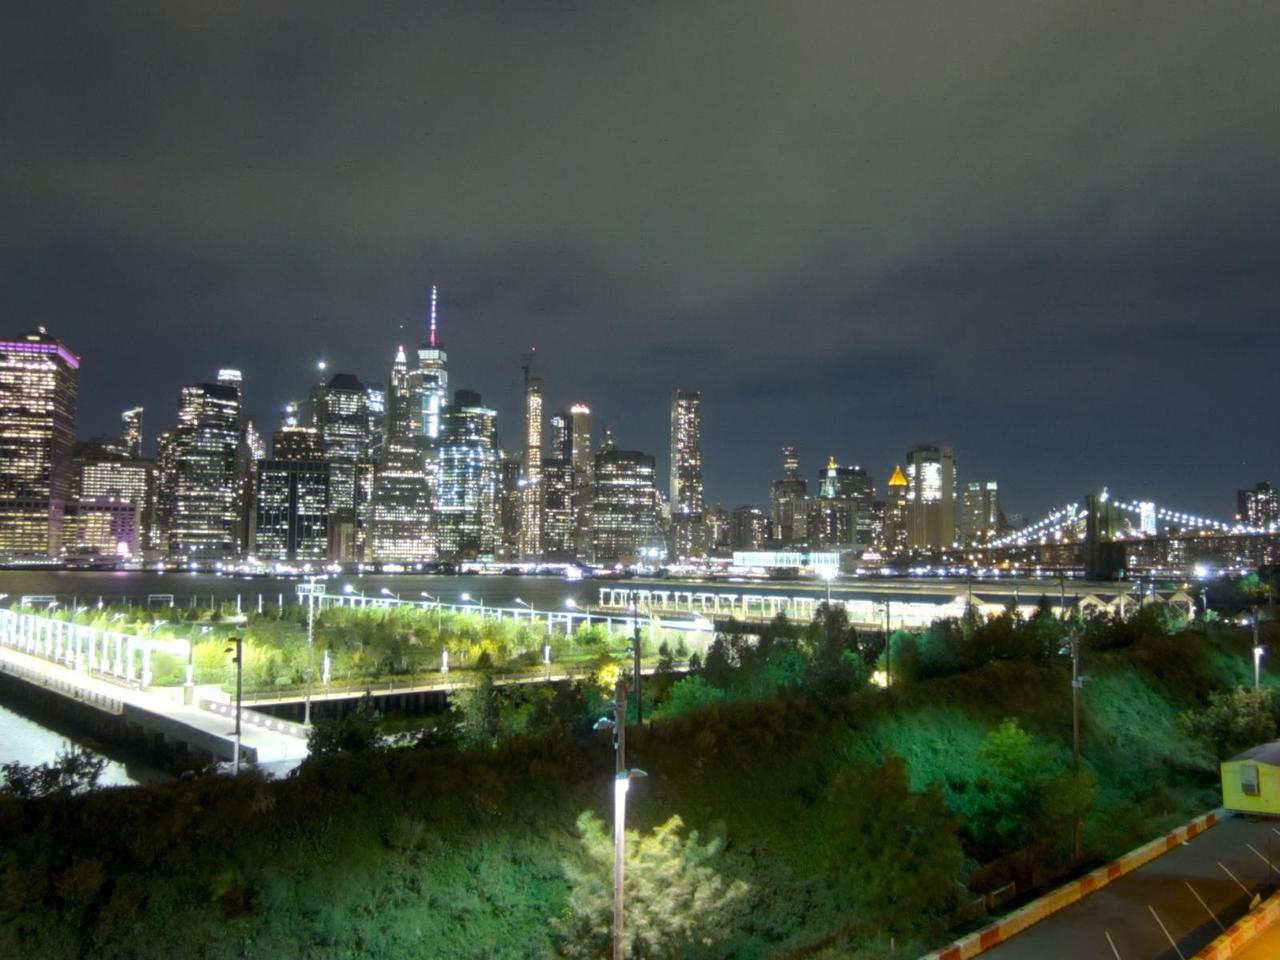
The second HDR photo is a picture of Manhattan and the Brooklyn Bridge. For this picture I had better light balance settings. Some of the lights from the pier are still too bright. This photo would have also benefited from additional exposure settings.
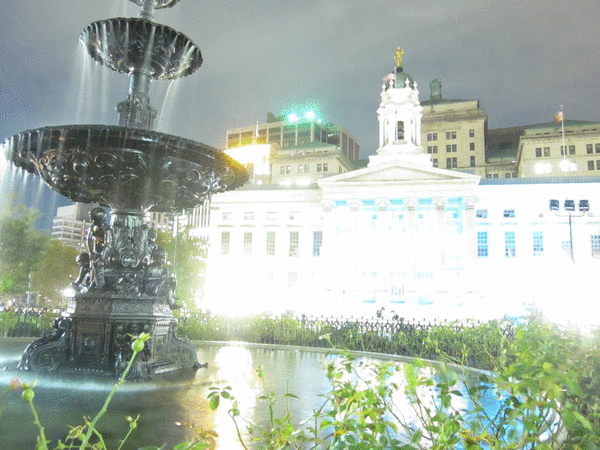
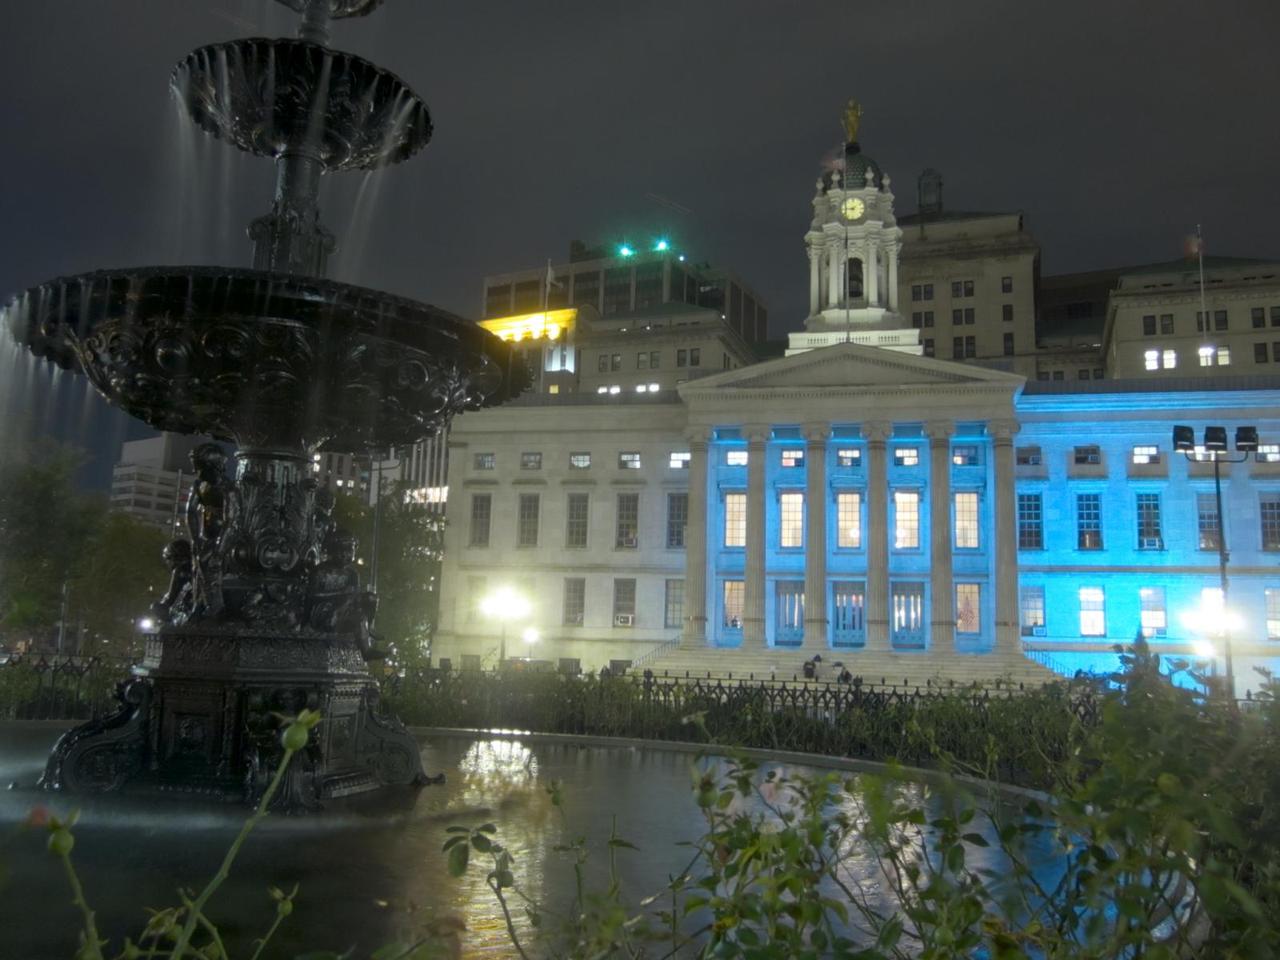
The third picture is a photo of a municipal building in downtown Brooklyn. While taking it I thought it would come out poorly because of the movement of the skateboarders in the background and the water in the fountain. Neither seem to matter much. The water from the fountain was obviously moving throughout the entire process but when combined with the long exposures had a pleasing result. Some of the street lights were still too bright so again this would have benefited from even more exposures. I'm very happy with the plants in the foreground despite their movement caused by a slight breeze.
I'm excited to do more with CHDK. I love how I can now program my camera. The CHDK documentation is straightforward. First thing I am going to do is improve the HDR script to allow for a wider range of exposure settings. I also would like to try HDR time lapse videos. I can easily modify my current script to do time lapses by using a for loop.
Comments