Introduction to Rhino
For our first class, we were introduced to the Rhino modeling program. Our assignment was to build something that fits in a 3 inch cube using the commands we learned about in the lecture.
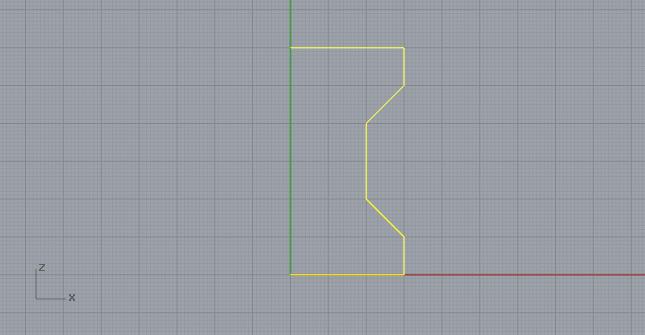
My goal was to make a standard rook chess piece. To begin, I created a new workspace with millimeter settings (as instructed by Xuedi) and turned on the grid snap. Using the Polyline command, I drew a rough outline of the contour. My intention was to later use the Revolve command.
I wanted to add some groves to the exterior to make it more detailed. Using the Offset command, I made an offsetting line 2mm inside the first line. Then I added some horizontal lines for use with the Trim command.
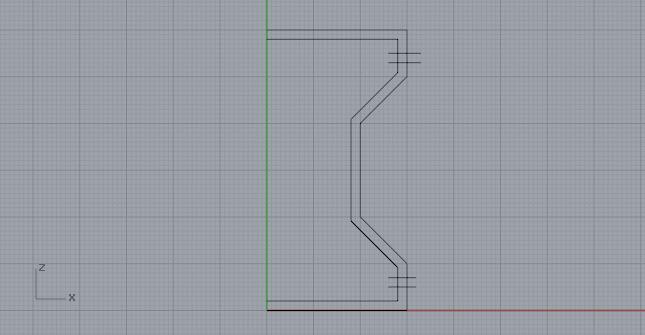
After using the Trim command, I selected all the segments and used the Join command to make a complete curve. Then I added another offsetting line 8mm inside the first line. My intent here is to make a hollow rook.
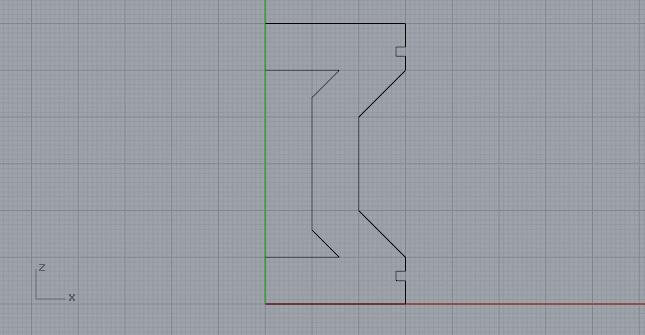
I then used the Fillet command to soften some of the corners of the outside line.

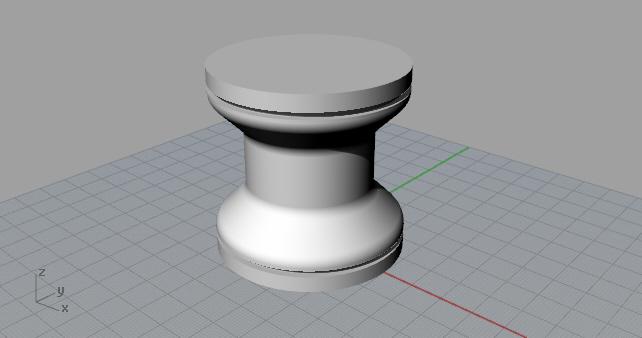
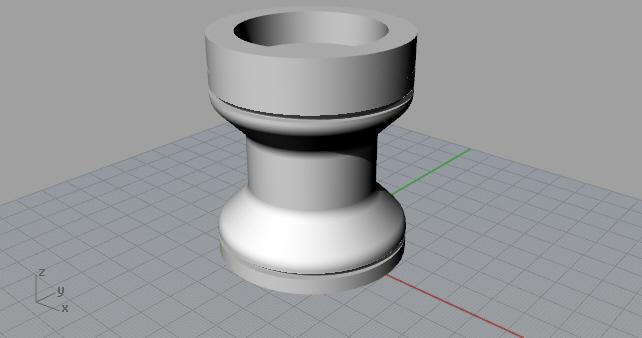
Now I am ready to use the Revolve command to make my rook. The rook is hollow because I revolved both lines together.
I had the basic shape but I needed to crenellate the top of the rook to make it look more like a typical rook piece of a chess set. These crenellations should be curved to make them line up with exterior of the rook.
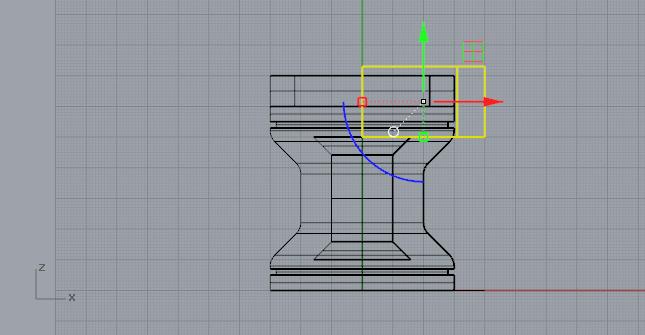
To accomplish this I created two cylinders, one inside the other, and used the Boolean Difference command to make a ring. The ring was added to the top of the structure.
Then I used the Polyline and ExtrudeCrv commands to create a wedge shaped object and positioned it to intersect with the ring.
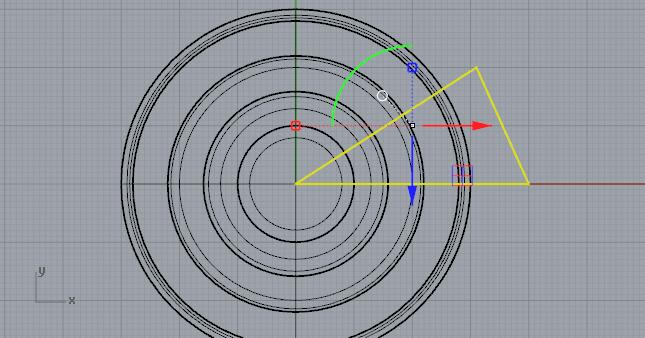
Using the Boolean Intersection command, I can create a single block on the top of the rook. Notice it is curved on the outside (and inside), making it flush with the surface below it.
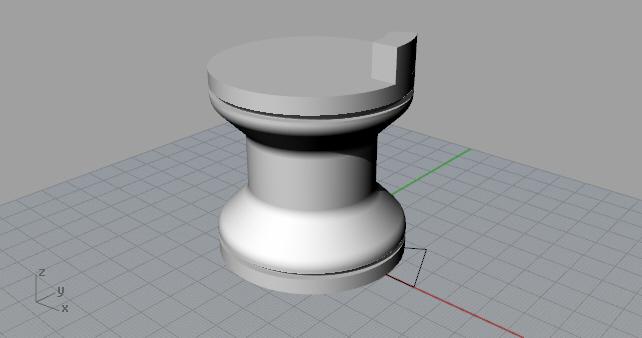
Now all I needed to do is use the Polar Array command to duplicate that block around the top of the rook.
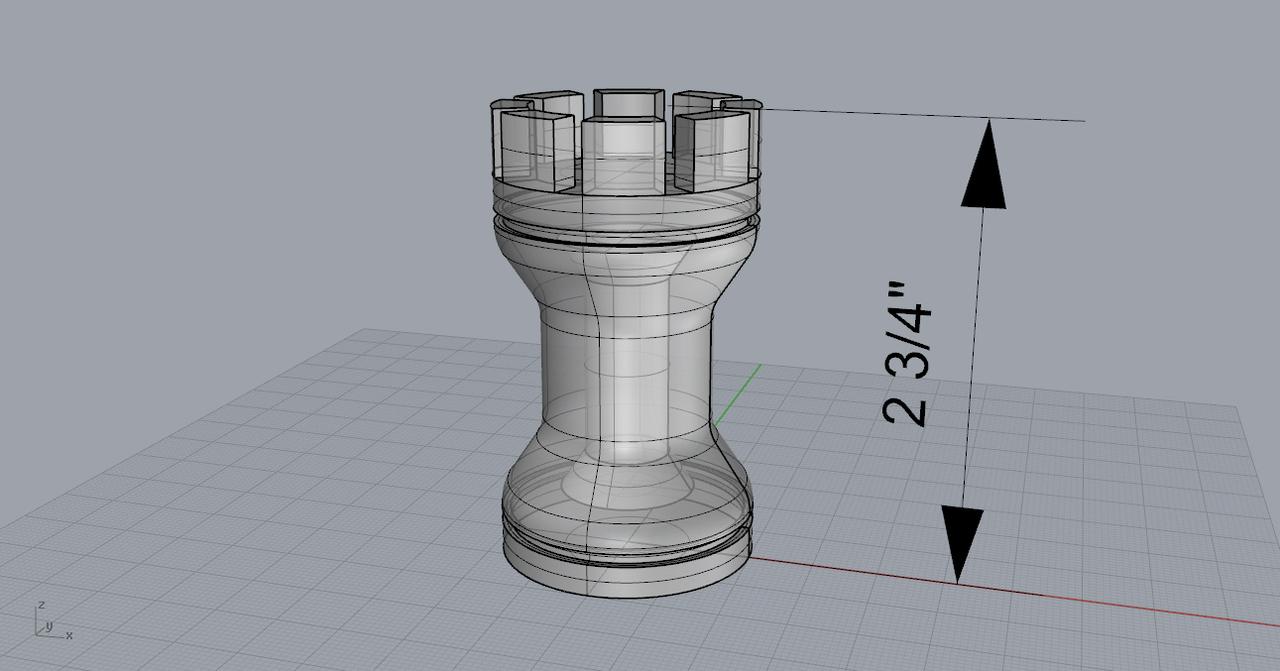
The crenellated rook looked fatter than what I had in mind so I used the Scale2D command to make it thinner. I also added a Linear Dimension annotation in inches to demonstrate that it would fit in a 3 inch cube.
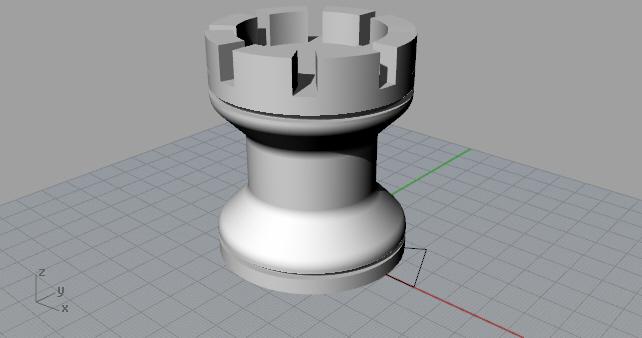
Below is the final result. Notice it is hollow inside. If I was actually 3D printing this, the hollow space would make it lighter and would reduce the printing time and cost.
Comments