Othermill
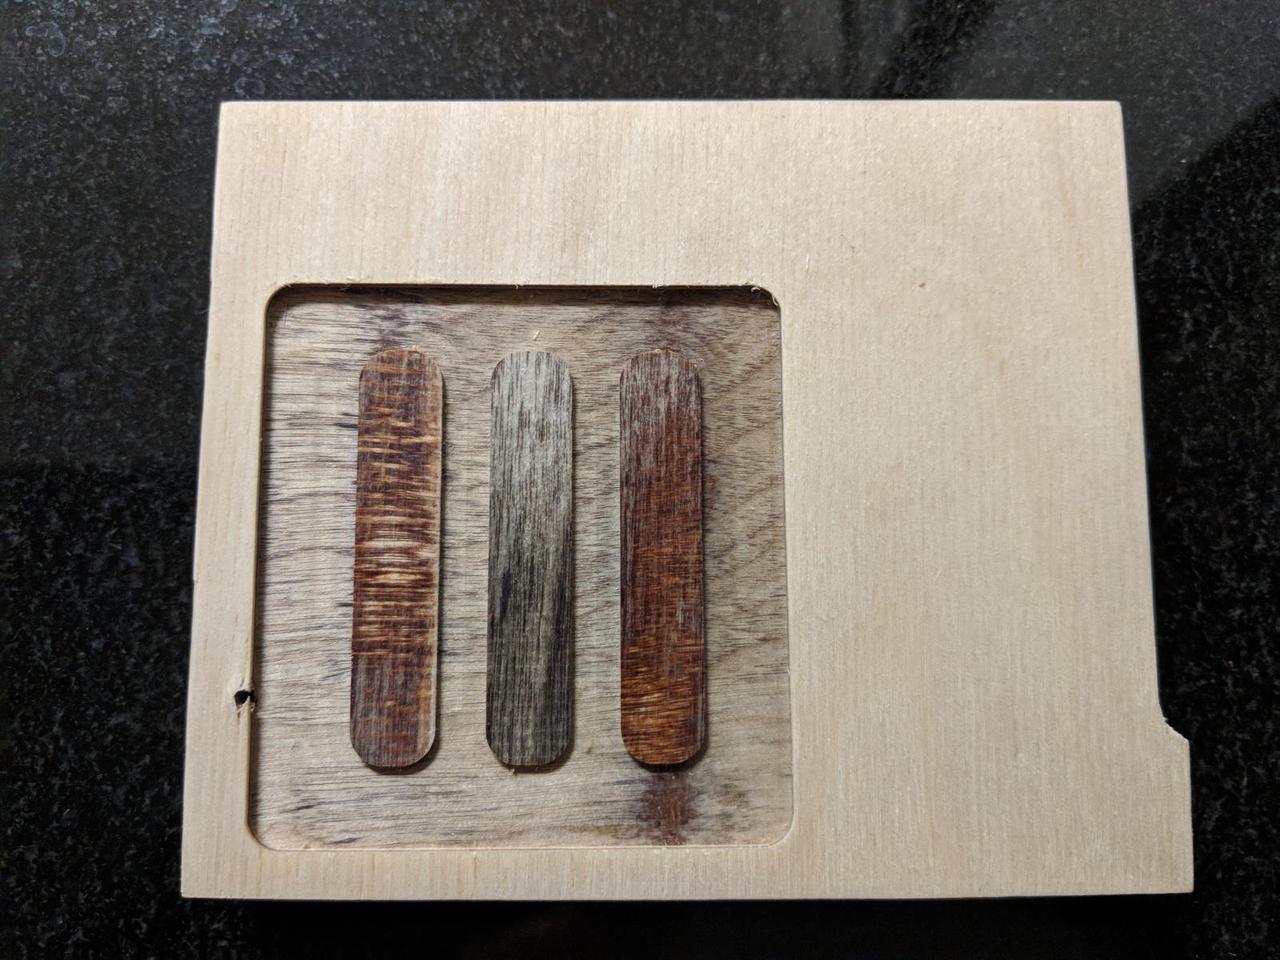
Our second project is another skill builder exercise using the Othermill. Our goal was to get some experience using an Othermill to mill a piece of plywood. I created this simple object:
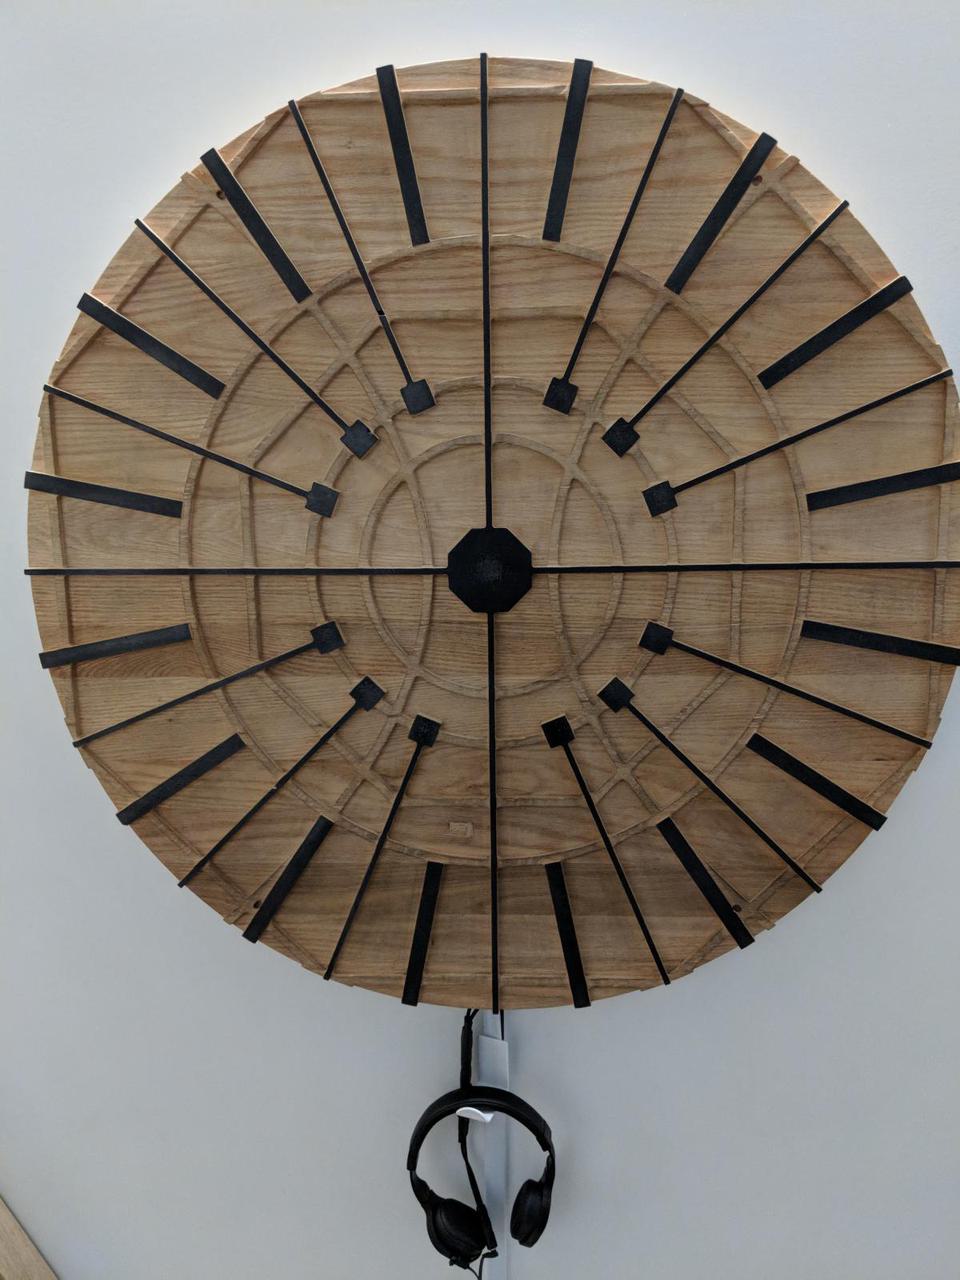
The inspiration for this was a musical sculpture I recently saw at the Museum of Arts and Design. The wood was clearly milled on a CNC. The artist used conductive ink to create keys that would play musical notes when touched. I wanted to experiment with what a wooden key would feel like if milled on an Othermill.
I may develop this idea further for a future project.
I created my design in Abobe Illustrator. I was curious about milling wood to multiple depth levels and how to design such a thing in Illustrator. I also wanted to use boolean operations to make my design. I learned that when using Illustrator's Pathfinder Shape Modes, the "Minus Front" and "Exclude" operations can achieve the same results but Bantam's desktop milling software would interpret the svg files differently.
Here's the first layer of my design, milled to 0.05 inches.

And the second layer, milled to 0.1 inches.

Here are shots of the Othermill in action:
Operating the Othermill went smoothly once I figured out how to get the machine to locate the tool. This is the procedure that allows the Othermill to measure the length of the installed bit. I paused the Othermill every few minutes to vacuum out the inside because I was paranoid about breaking my bit. A lot of sawdust was generated during the milling operation and vacuuming out the machine allowed me to clearly see its progress.
My main question has to do with milling efficiency. As I configured the job, the Othermill milled the second layer first, down to a depth of 0.1 inches. When it was complete, it milled the first layer to a depth of 0.05 inches. There is overlap in milled material, and the machine should have known that much of material to be milled by first layer was already removed when it milled the second layer. For whatever reason this information was not incorporated in the generated g-code. The Othermill was milling air for much of the second half of the job. Was there a more efficient way of setting up this job? Should I have reversed the order of the two svg files? Are there better tools for designing more efficient g-code? I would like to know because I am certainly going to use the Othermill again. I love this machine and am eager to use this for future projects.
Comments