Aluminum Milling
This week I milled aluminum with the Othermill. Here is the result:

I really like the Othermill.
The Radioactive icon was designed by P Thanga Vignesh as part of the Noun Project.
I wanted to use aluminum for this assignment because I've never worked with metal before. It was an interesting challenge working with a totally new material.
The process began by cutting a piece of aluminum from a much larger piece using a circular saw.
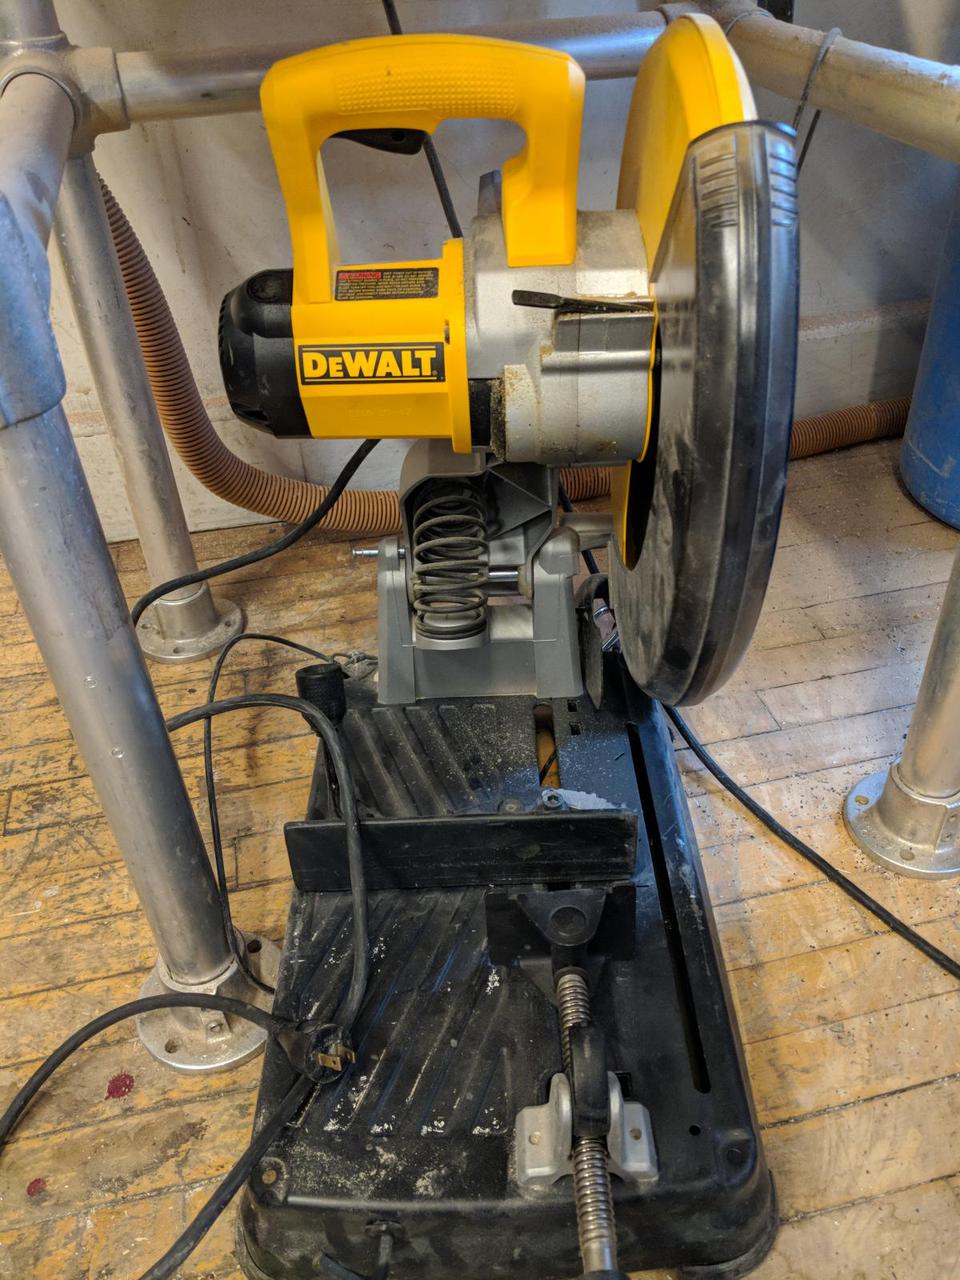
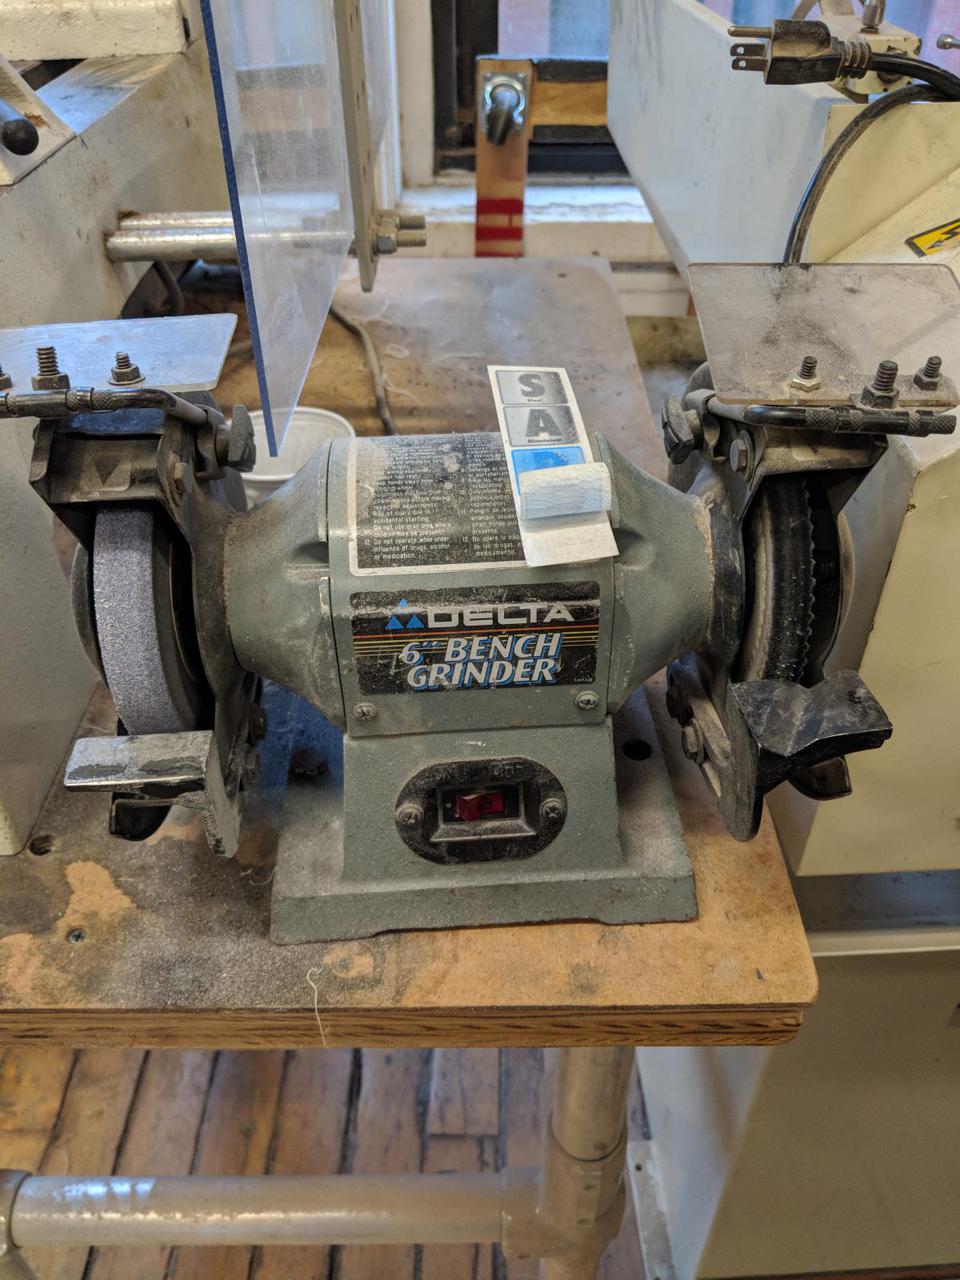
My aluminum piece had rough edges, especially on the edge that I cut. Rough edges would prevent the piece from lying flat on the Othermill platform, undermining my milling efforts. To remedy this I used this bench grinder to trim the edges:
Then I milled the aluminum with the Othermill. This was a slow process! It removes 0.002 inches of material for every pass of the bit.
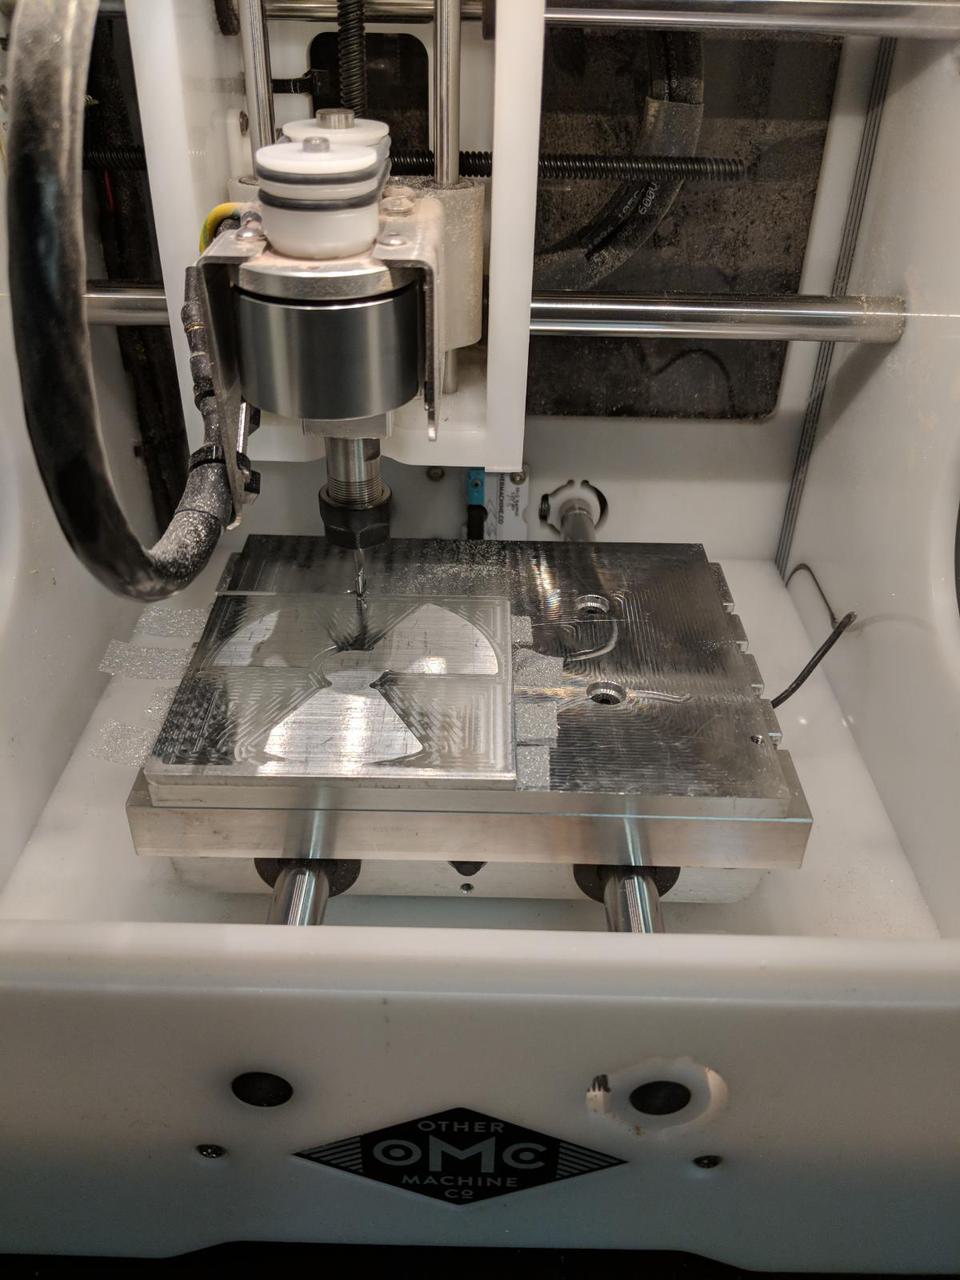
After removing 0.01 inches of material, I had this:
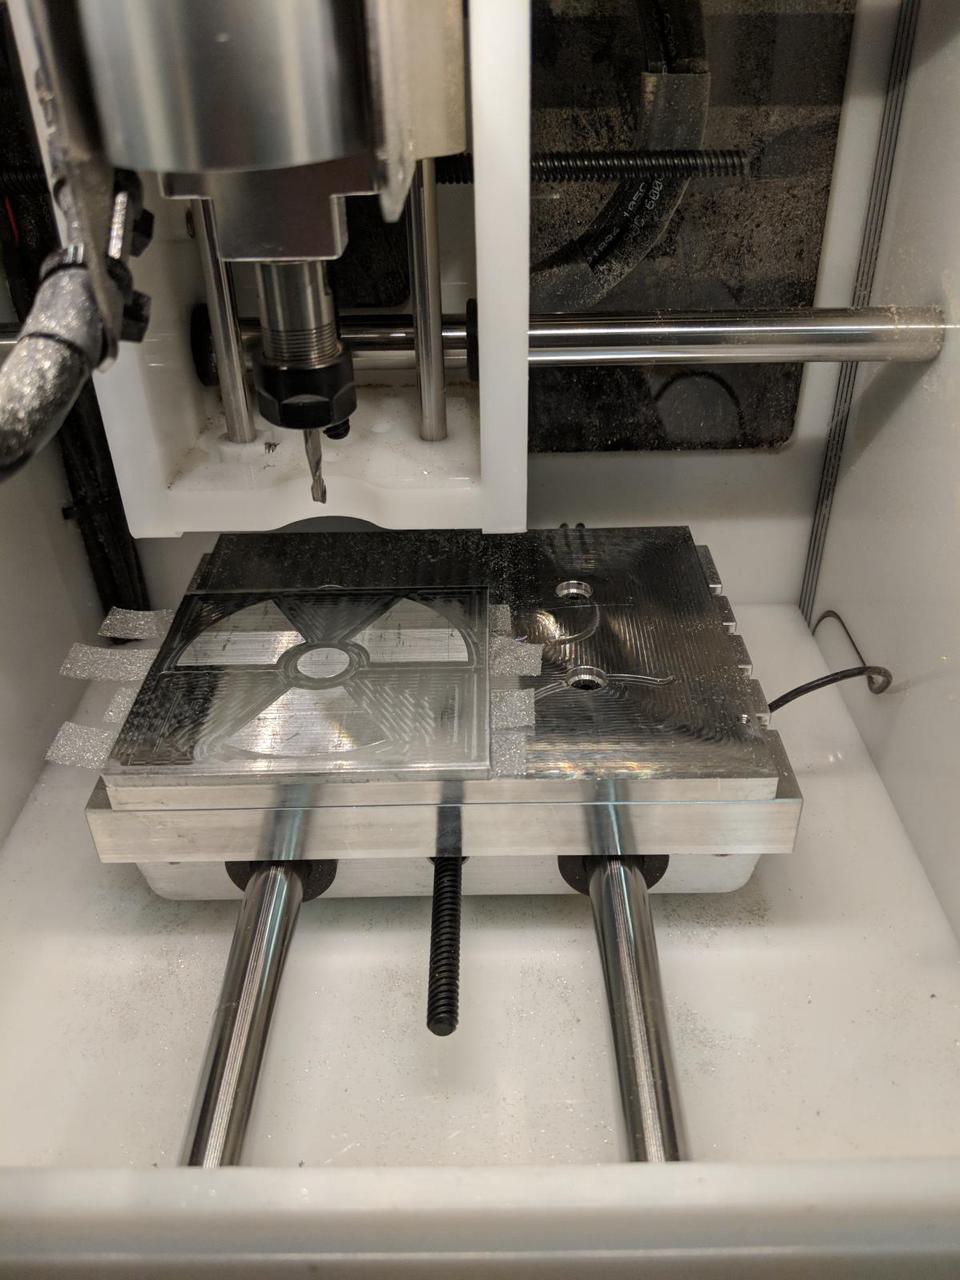
Notice that the near edge of the metal has not been milled at all. This is because the metal wasn't perfectly flat and my milling depth was small. Also, there could be aberrations with the tape or rough edges keeping it from lying flat.
I had it mill another 0.002 inches to get it to finish the job.
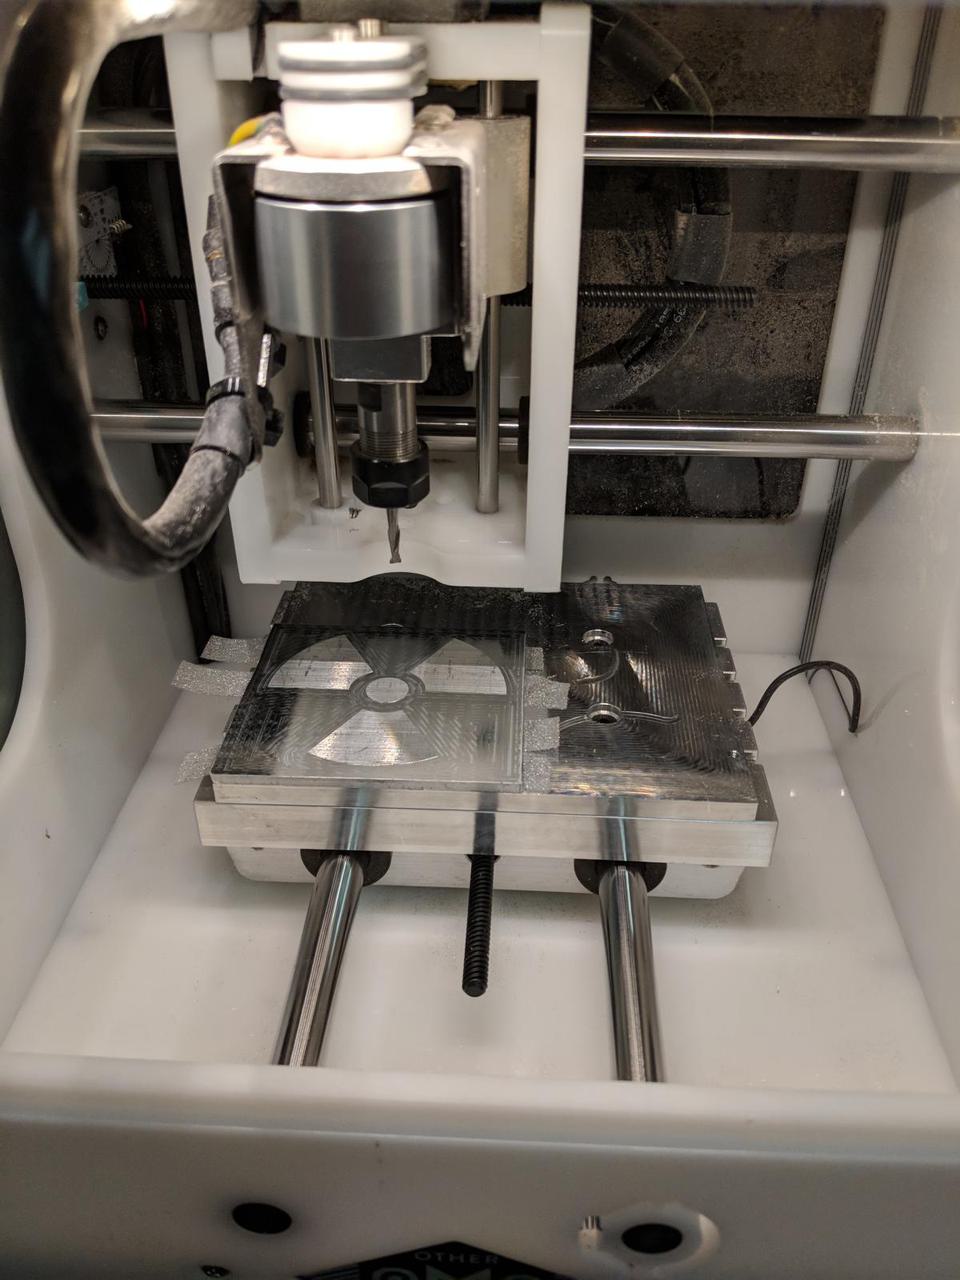
I am very happy with this project. I am glad I got some experience working with metal.
I spoke with Ben during his office hours to talk about my results. He pointed out I could use the scotch brite pad to improve the surface of the metal before milling it. If I were to attempt to do that now, I would scuff up the markings from the tool path seen on the surface. I was considering exploring some metal finishing techniques but none seemed like they would improve the current state. Next time I will think about how I want to finish the material before milling and plan accordingly.
Comments