Things That Fit Together
This week we learned new tools for constructing 3D objects. Our assignment is to use what we learned to build something with two parts that fit together.
My idea for this assignment was to build a phillips-head screw. I had a real screw that I used to model my Rhino screw. I began by making careful observations of the screw with a magnifying glass because I wanted the threads, curvature, and proportions to be as realistic as possible. I used digital calipers to take measurements that I incorporated into my design sketch.

It took a lot of experimentation to figure out how to do this. I settled on an approach using Rhino's Taper and Helix commands. After tapering a helix shaped line, I can then use that line with the Sweep1 command to make the threads. It is important to taper before adding the threads because the Taper command distorts the threads in an unrealistic way.
One of the alternatives I tried was the Twist command. I can make a cylinder with one straight thread down the side, then use the Twist command to twist it around 10 times. It works but doesn't give me the ability to control the shape of the threads. Using the Helix and Sweep1 commands was more straightforward.
Below is my model after adding a helix shaped line wrapped around a cylinder.
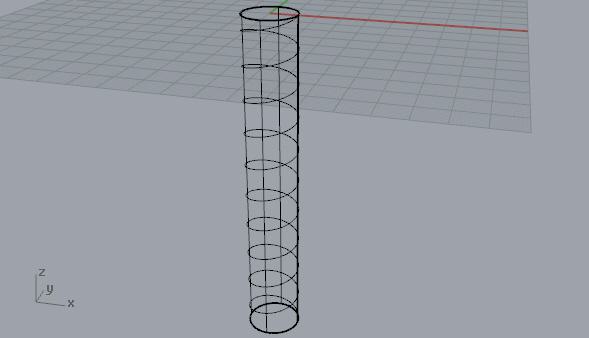
Next I used the Taper command to make the end of the screw pointed.
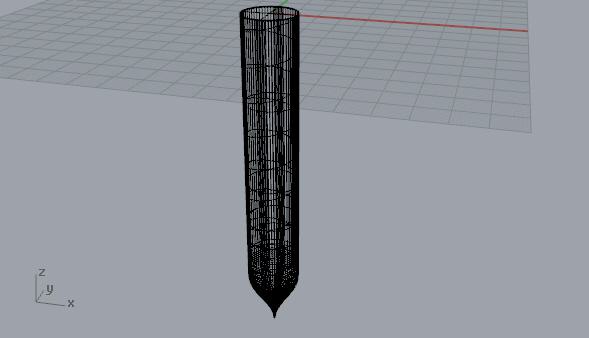
I could use the tapered helix line as a rail to sweep the threads around the screw's shaft using the Sweep1 command. I remembered to Cap the threads when I was done. I also modeled the threads to overlap the cylinder because Rhino doesn't seem to like coincident surfaces when using boolean operations.
The Sweep1 command has multiple "styles" I can choose from in the dropdown in the modal window that appears after using this command. The default option of "Freeform" does not do what I need to do. I needed "Roadlike top." The alternatives seemed to rotate the threads in a weird way as the threads revolved around the helix. I am glad I noticed this option in the dropdown because without it, this whole approach would have failed.
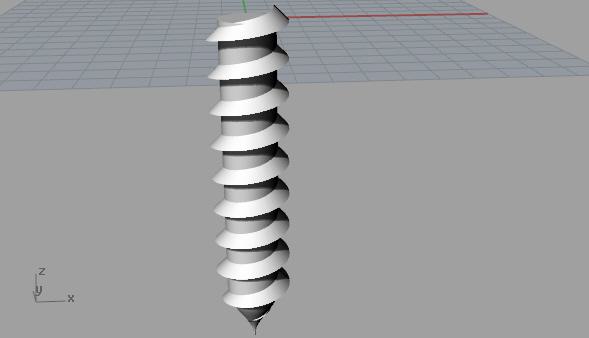
Next I can revolve a simple object to build the screw's head.
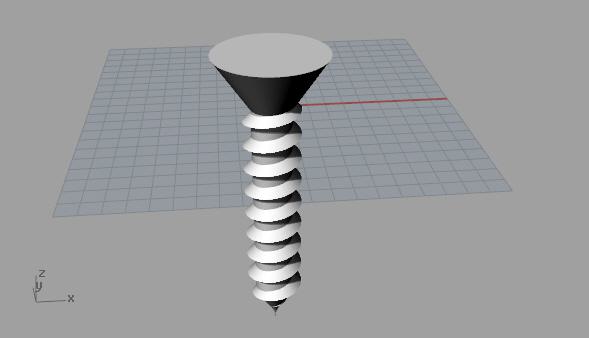
To make the screwdriver insertion point I used the Boolean Difference command.
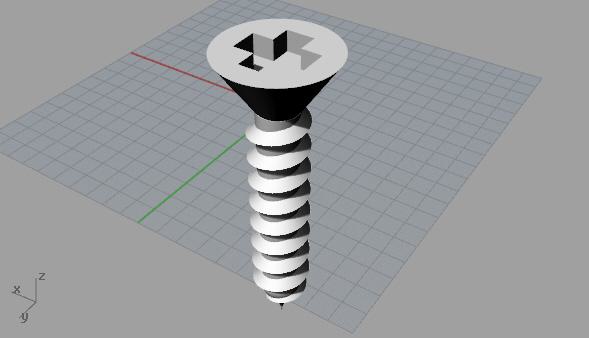
Next I used the Scale1D command to shrink the screw by a factor of 10. The model had been been built at 10x the scale so that I could take advantage of the 1.0 mm grid snapping. In retrospect I should have changed the grid snapping to 0.1 mm in the document properties.
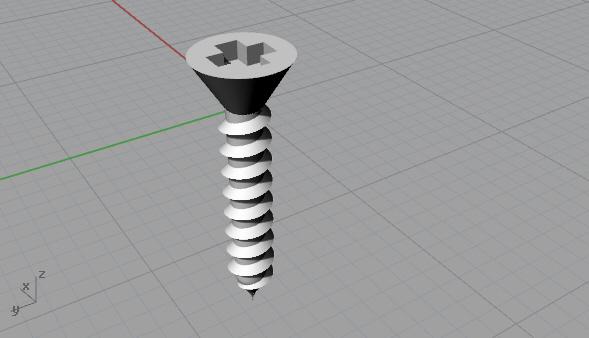
Our assignment was to make two things that fit together, so I need to insert the screw into something. I made a simple block of wood and used boolean operations to make a hole for the screw.
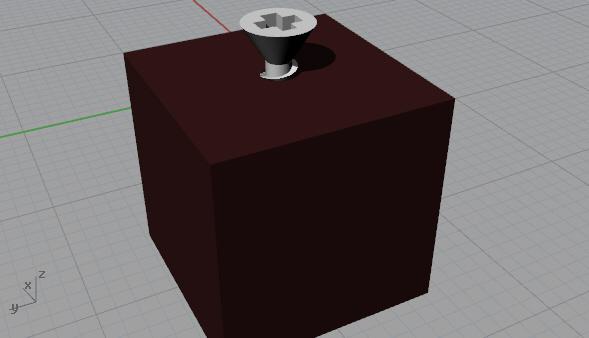
Getting the boolean operations to work for this object was a non-trivial matter. Rhino's Boolean Difference command didn't like operating on the screw's threads. I kept getting an error message indicating that the boolean operation failed. I don't understand what the problem was. The Check command tells me the "Rhino polysurface object is valid." The thread's object type is a "closed polysurface." The Volume command gives me a volume.
After much fiddling I discovered that when I used just the threads object with the Boolean Intersection command, Rhino would do what I expected the Boolean Difference command to do. I don't understand but that's what happened. Once I got that to work there were other complications with the screw's shaft. After more fiddling I got that to work too. It wasn't easy but it seems that when Rhino doesn't want to do something, there's value in experimenting to find an alternative approach.
The below image shows the wood with the hole in it. Notice the thread groves in the hole.
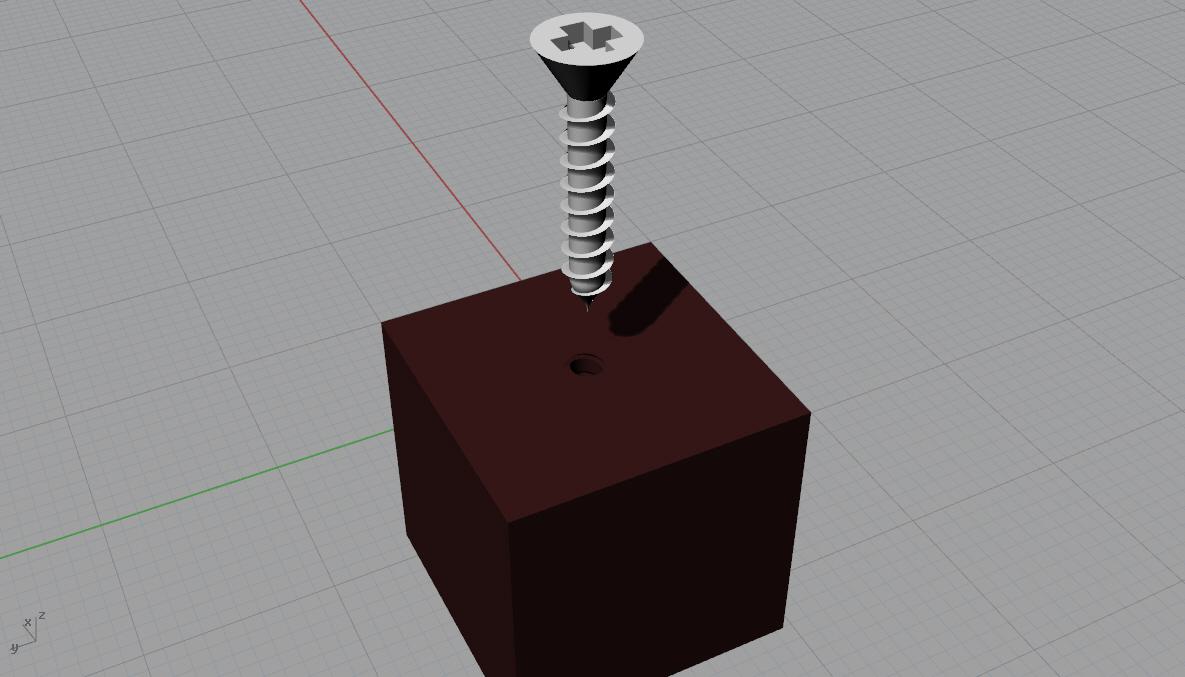
And with the Ghosted renderer, which I think looks better:
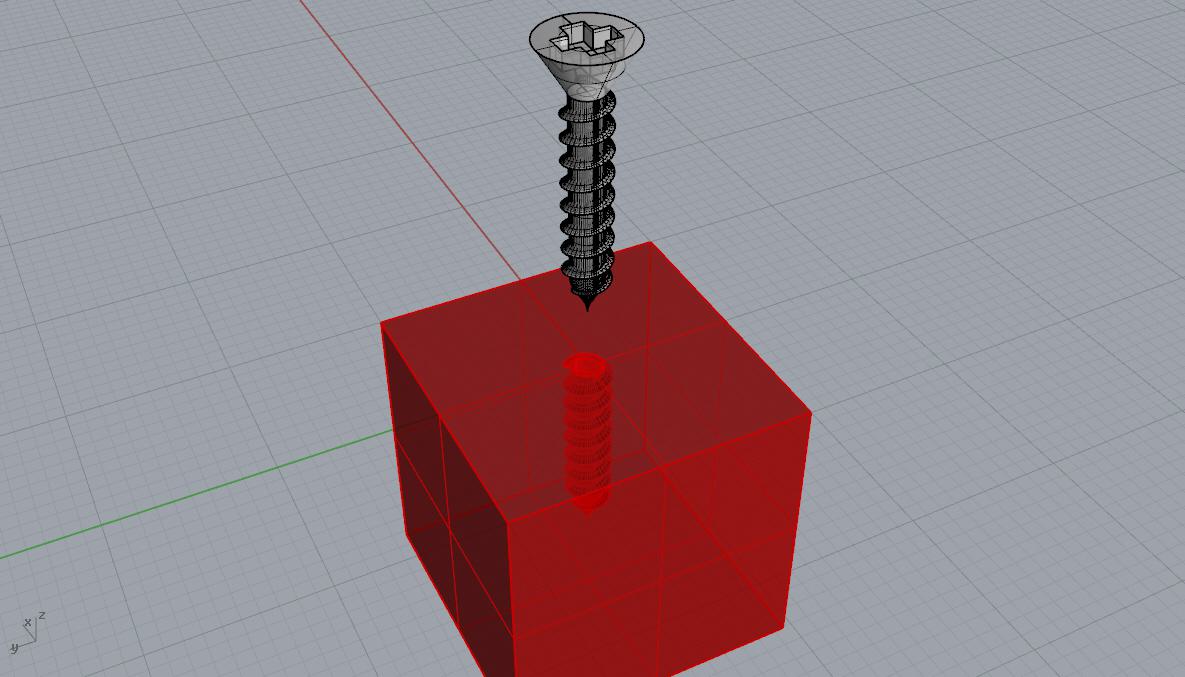
Here's a closer look at the threads I worked so hard to create. Gaze into the abyss of a screw hole:
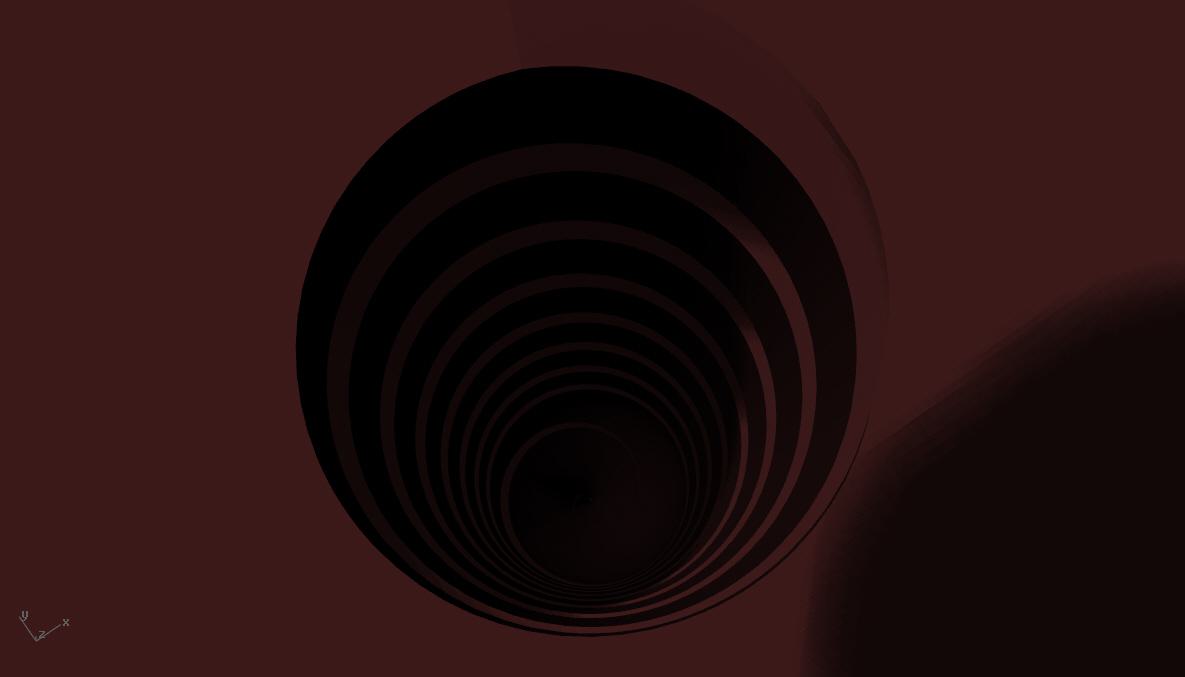
And for fun, here's a rendered view of the screw from inside the hole.

Comments