First 3D Print
My first (mostly) successful 3D print! It is a speaker case for a small speaker I upcycled from a Hallmark greeting card. I intend to use this for my Physical Computing class.

Here's how I made it! First, I measured the speaker dimensions with digital calipers and sketched my idea on paper.

Then I proceeded to model it in Rhino. I started with some basic shapes to be repeatedly extruded to form the different shapes. The corners of the shapes were rounded with the Fillet command.
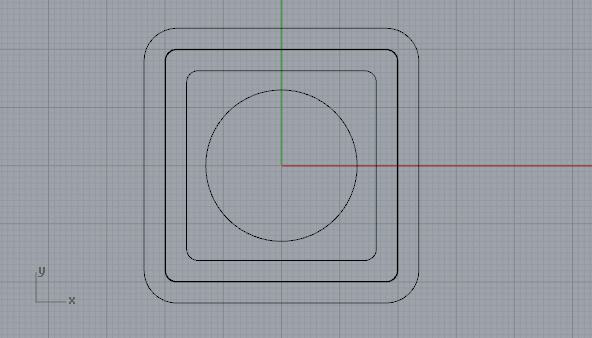
Then I created the face of the speakers using the Extrude and Cap commands with boolean operations. I wanted to use the Loft command here but I had difficulty getting Rhino to create a single, solid object with that approach.
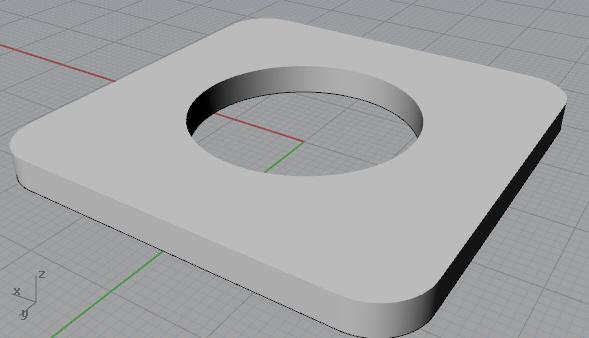
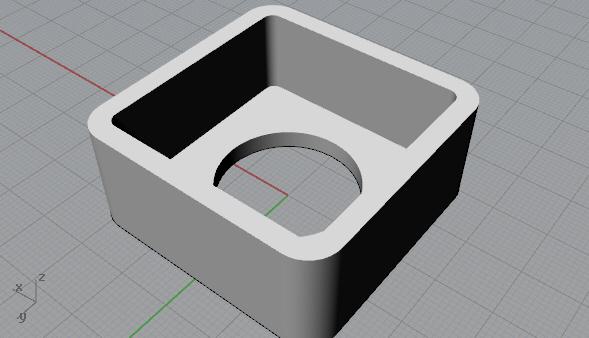
I build the wall of the speaker case using the same commands.
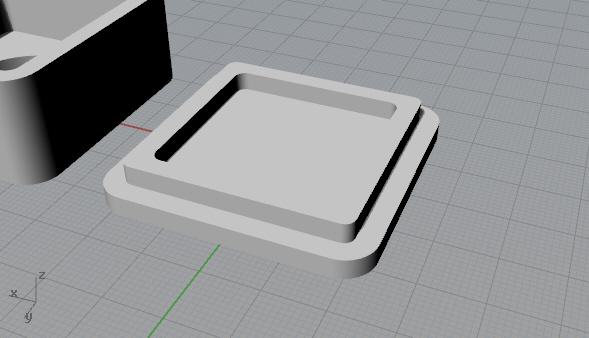
Next I built the case's rear cover. The outer dimensions of the part that gets inserted into the main piece is 0.2 mm smaller than the inner dimensions of where it will be inserted. I did this because Xuedi recommended that this might be necessary to make the actual 3D printed objects fit together properly.
I added a hole for the wires to go through.
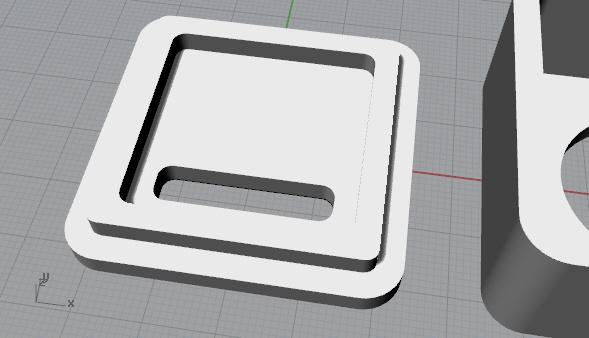
And the final model:
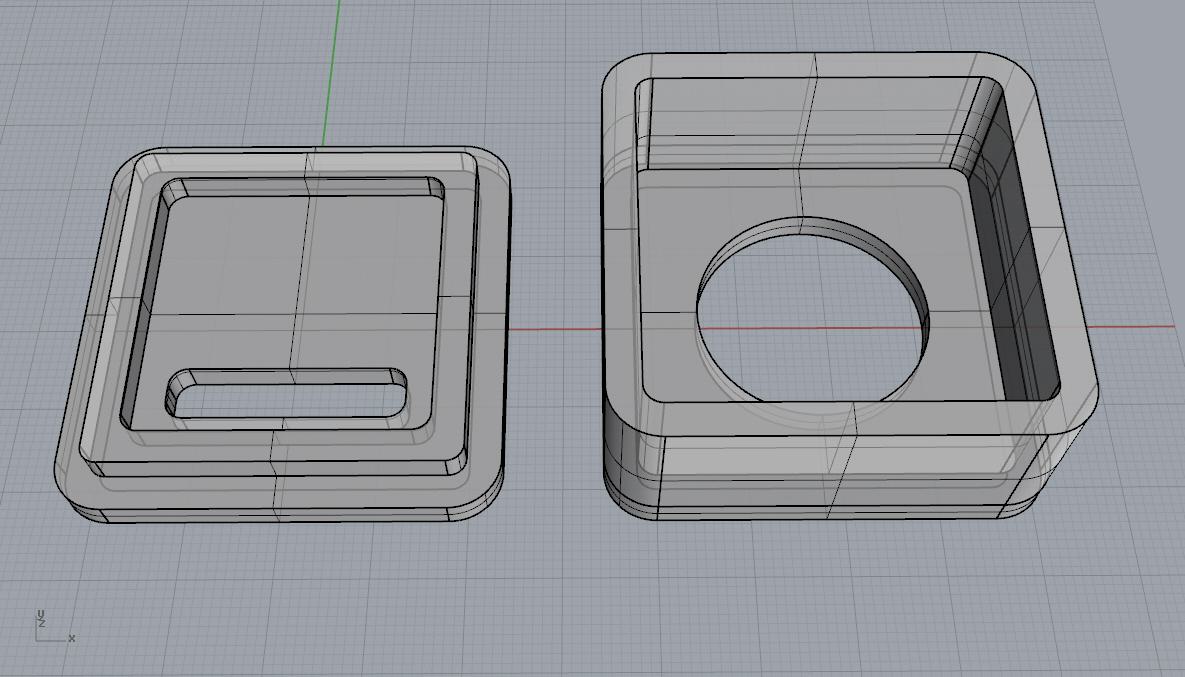
After the model was completed, I printed it using one of ITP's Ultimaker printers.

And the final result. I did some soldering to rewire the speakers so it could easily work with a breadboard.

Not everything went as well as I would have liked. The biggest problem is that in spite of my careful measurements, the diameter of the speaker opening is a full centimeter smaller than it should have been. Unfortunately I got frustrated with the Loft command and in my frustrations I accidentally drew the circle incorrectly. I didn't notice until after I printed it out. There's an important lesson there.
The other issue is with the printer itself. both pieces took about 3 hours to print. I couldn't figure out the right print settings to lower the resolution settings appropriately to make it go faster. I need to talk to someone about Cura print settings.
Comments