Final Project Progress
Camilla and I have made a lot of progress on our final project.
We have our first real enclosure:
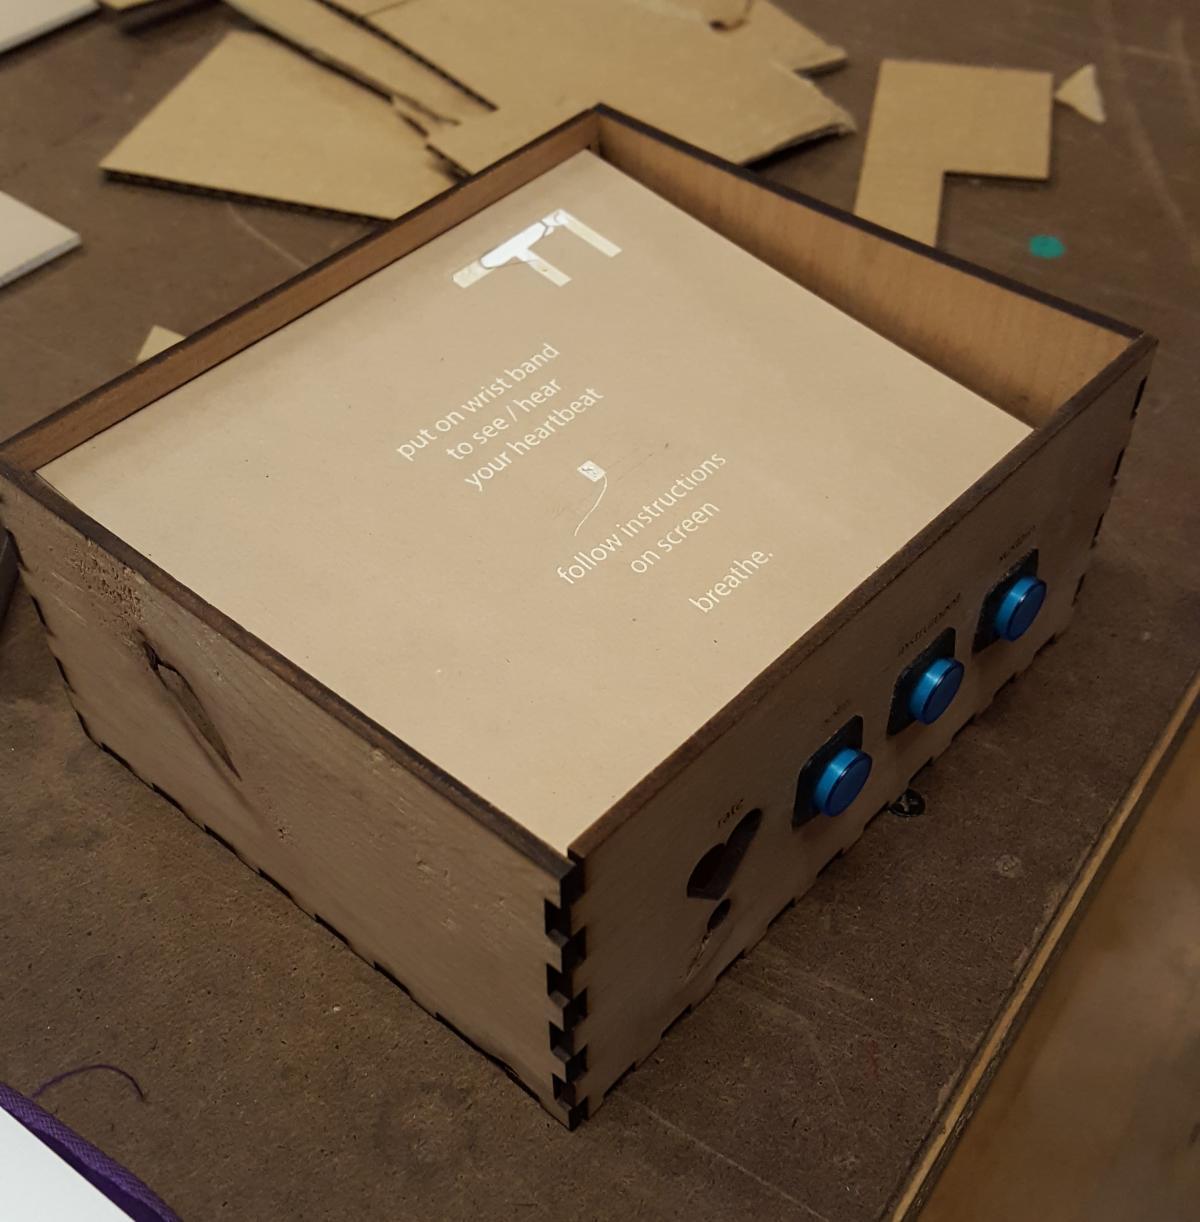
The buttons are on the front of the wooden box. As pictured, the top falls into the box, but later in the day we laser cut some more wood to go inside that will provide proper support. We will need to do some soldering to connect the buttons to the Arduino sketch. We will need to a little bit of programming to make the buttons light up at the appropriate time. I expect that to be straightforward.
We have a P5 sketch providing the basic functionality we want. Most importantly, the Arduino properly communicates with the P5 sketch. To help us accomplish this we created a mock Arduino sketch that simulates a fully-functional pulse sensor. Basically it sends heartbeat messages every second with note change and sustain on/off messages. The purpose of this is to allow us to develop the P5 sketch without being dependent on the Arduino side being complete or functioning correctly. Essentially this is a mock device that allows us to isolate the P5 sketch and verify it works correctly. This will be important later when we need to debug our application and track down errors.
Our P5 sketch can play notes from a variety of instruments. Camilla created sound samples with her knowledge of electronic music. We also have programmed in several breathing exercises.
One of my important tasks is to teach Camilla about software design and organization. We are structuring our code in a way that allows for change. If we want to add a new instrument, we only need to edit one line of code. If we want to add new breathing exercises, we only need to edit one line of code. Everything is being done in a modular way. I expect that this will greatly reduce our stress levels over the next two weeks.
Our code is available on github.
I am quite happy with our progress and am confident we will be ready for user testing next week.
I2C and SPI Communication Questions
I watched the videos for this week's lab. Although I recognize some of the terms, I found it to be fairly confusing. I have many questions.
First, how exactly do microcontrollers keep time? What exactly are these clock crystals I keep hearing about? Are they powered by magic? Is it a crystal component that resonates at a specific known and constant frequency?
How do the external devices know what channel they are? At the end of this video Tom uses the SPI library to transfer the number 4 to the device, but where does the number 4 come from? How are the addresses set?
Why aren't the I2C and SPI pins labeled as such an Arduino?
Will a peripheral device be built to use one of I2C or SPI or can they typically do both? Can I decide which I want to use or is this determined by the manufacturer?
How do shift registers relate to this?
What kind of programs can I put onto an ATtiny? Small ones, obviously.
How does the operation of the bus relate to the bus on my computer's motherboard? I feel like this is an important foundation for much more complex devices.
Comments